

How to Add Borders in Excel


In this tutorial, you will learn how to add borders in excel completely.
When working in excel, we sometimes need to add lines around the cell/cell range where our data is.
Those lines can serve as a clear boundary between our data or as a beautification to make our worksheet display better. We may already have gridlines as divider lines between cells but they are probably not good enough for our purposes.
There are several methods we can use when it comes to adding the borders around our cells/cell ranges. We can also style our borders in the way we prefer by utilizing the features available in excel.
Want to know and master the implementation of these methods and features? Read this tutorial until its last part!
Disclaimer: This post may contain affiliate links from which we earn commission from qualifying purchases/actions at no additional cost for you. Learn more
Want to work faster and easier in Excel? Install and use Excel add-ins! Read this article to know the best Excel add-ins to use according to us!
Table of Contents:
- What is a cell border in excel?
- How to add borders in excel 1: borders menu
- How to add borders in excel 2: draw border
- How to add borders in excel 3: format cell
- How to add a diagonal line in excel
- How to change borders style and color in excel
- How to create and save a custom border style
- How to remove borders in excel
- Shortcut to add borders in excel
- Exercise
- Additional note
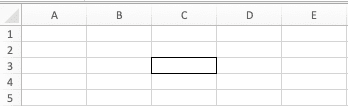
What is a Cell Border in Excel?
A cell border is a line that surrounds the outer and/or inner parts of your cell/cell range. It often acts as clear cell/cell range content boundaries from anything outside of it.Here is an example of a cell border on an excel cell.
How to Add Borders in Excel 1: Borders Menu
How to add borders like that in our cell/cell range? We will discuss three basic methods to add them in this tutorial. The first one is by using the Borders menu.The steps to add the borders through this Borders menu are actually quite simple, as you will see below.
-
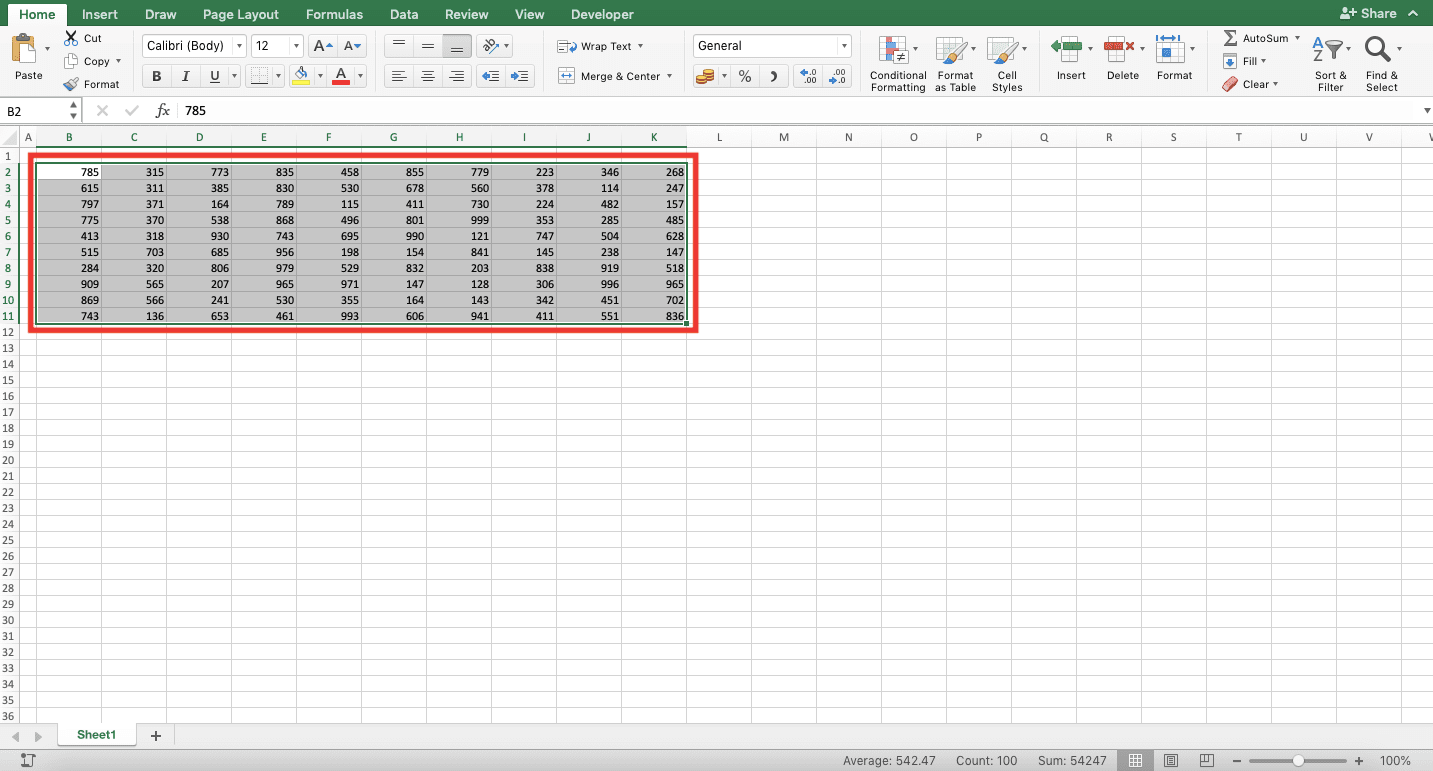
Highlight the cell/cell range where you want to place your borders
-
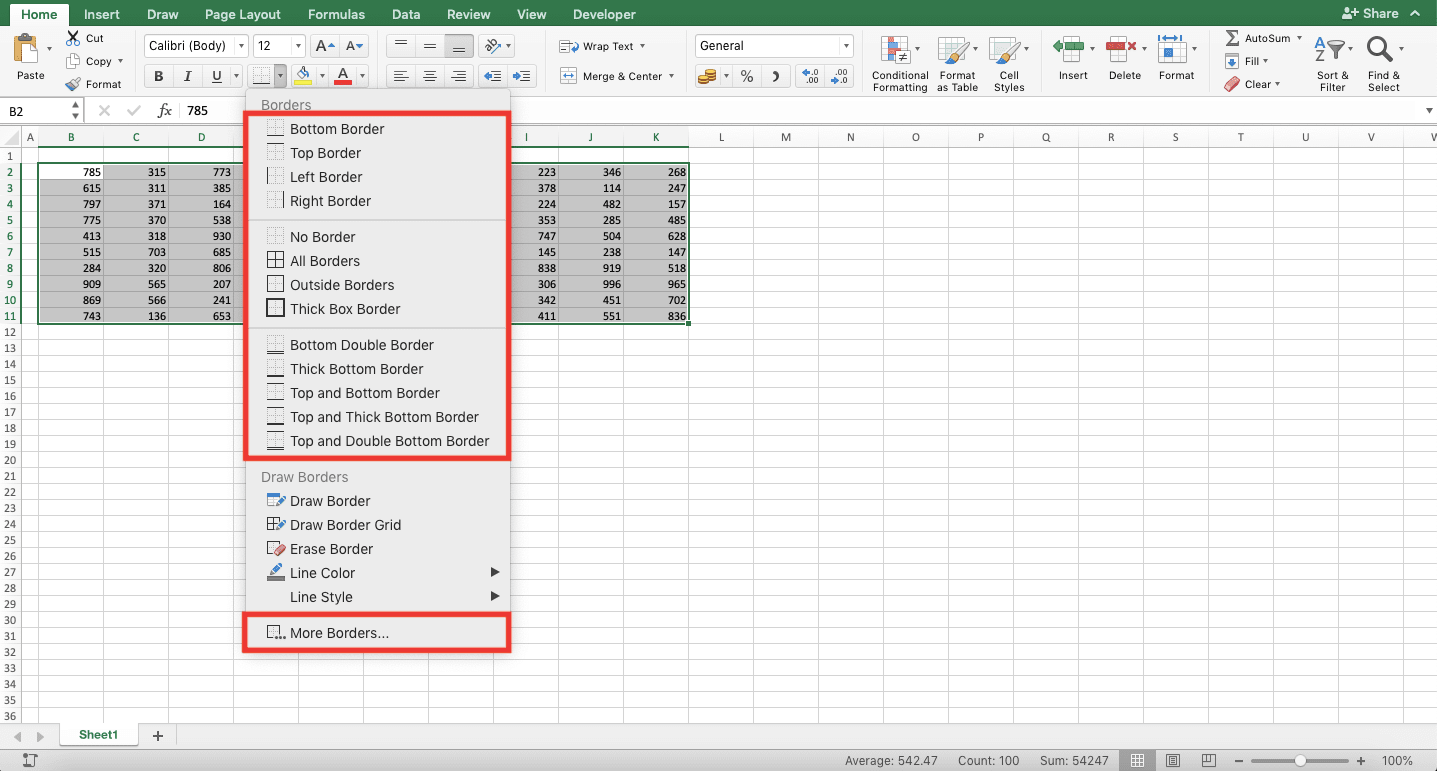
Go to the Home tab and click the Borders menu dropdown there

-
Choose the type of border you want or click More Borders…
-
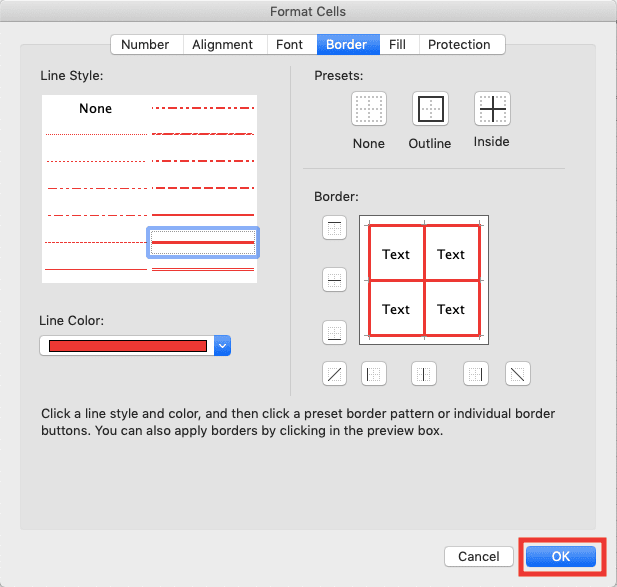
If you choose More Borders…, choose the border line style and color you want to add on the left side

-
Add the border by clicking the location where you want to add it on the right side

- Repeat steps 4 and 5 until you have finished adding your borders
-
Click OK
-
Done!

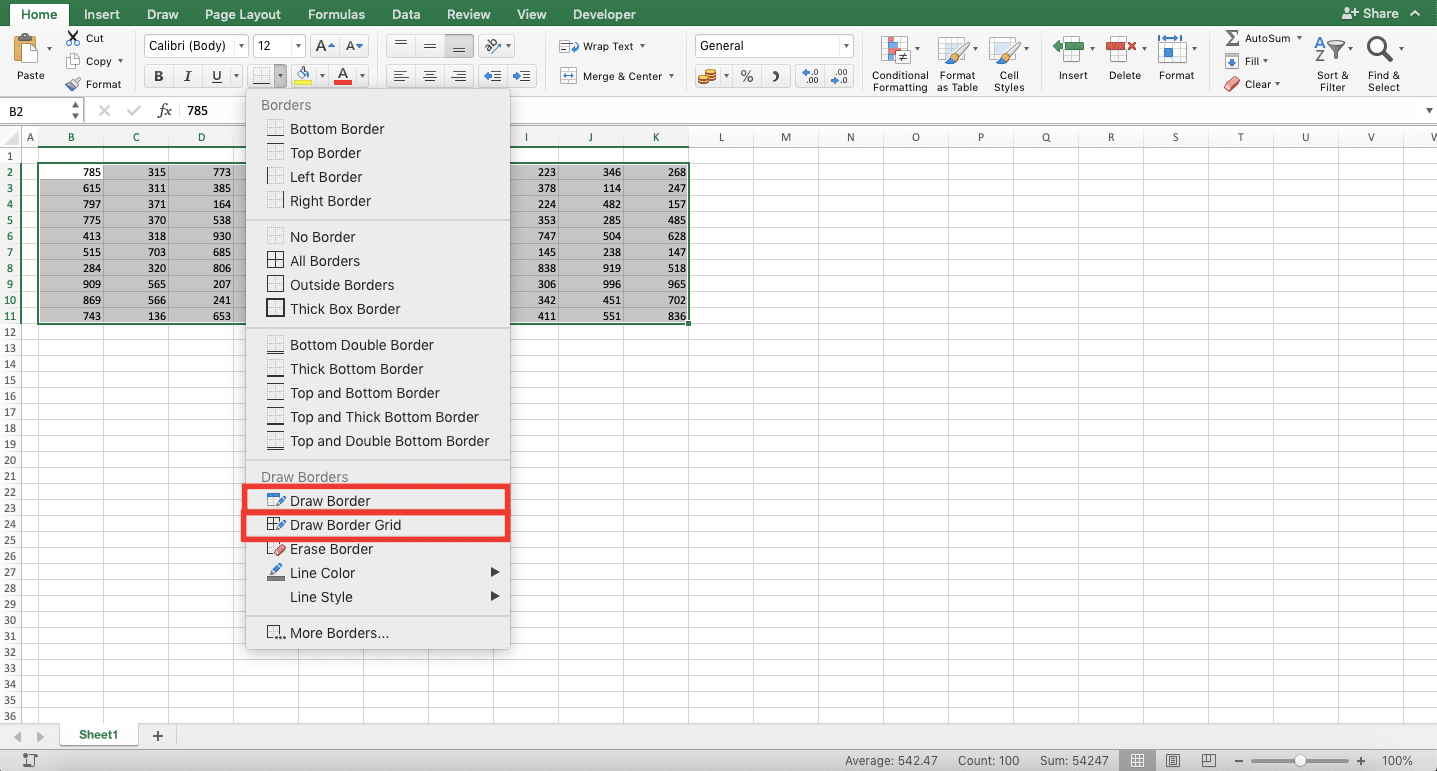
How to Add Borders in Excel 2: Draw Border
Besides adding borders through the border menu, you can also draw your cell/cell range border yourself. Here are the steps to do just that.-
Click the Borders menu dropdown in the Home tab

-
Pick the line colors you prefer
-
Repeat step 1 and pick the line style that you prefer
-
Repeat step 1. Choose Draw Border if you want to only draw the outer borders of your cell/cell range. Or choose Draw Border Grid if you want to draw the outer and inner borders of your cell/cell range
- Your pointer form will change into something like a pencil. Now, click and drag your pointer on the cell/cell range where you want to place your borders
- Repeat steps 1 to 5 until you have finished adding your borders
-
Done! Don’t forget to press your Escape button to change your pointer form back to normal
How to Add Borders in Excel 3: Format Cell
The third method we will discuss is adding borders through the format cell menu. Here are the steps to implement this method.-
Highlight the cell/cell range where you want to place your borders

-
Right-click on the cell/cell range you highlight and choose Format Cells… (or just press Control + 1 (Command + 1 in Mac) buttons simultaneously on your keyboard)
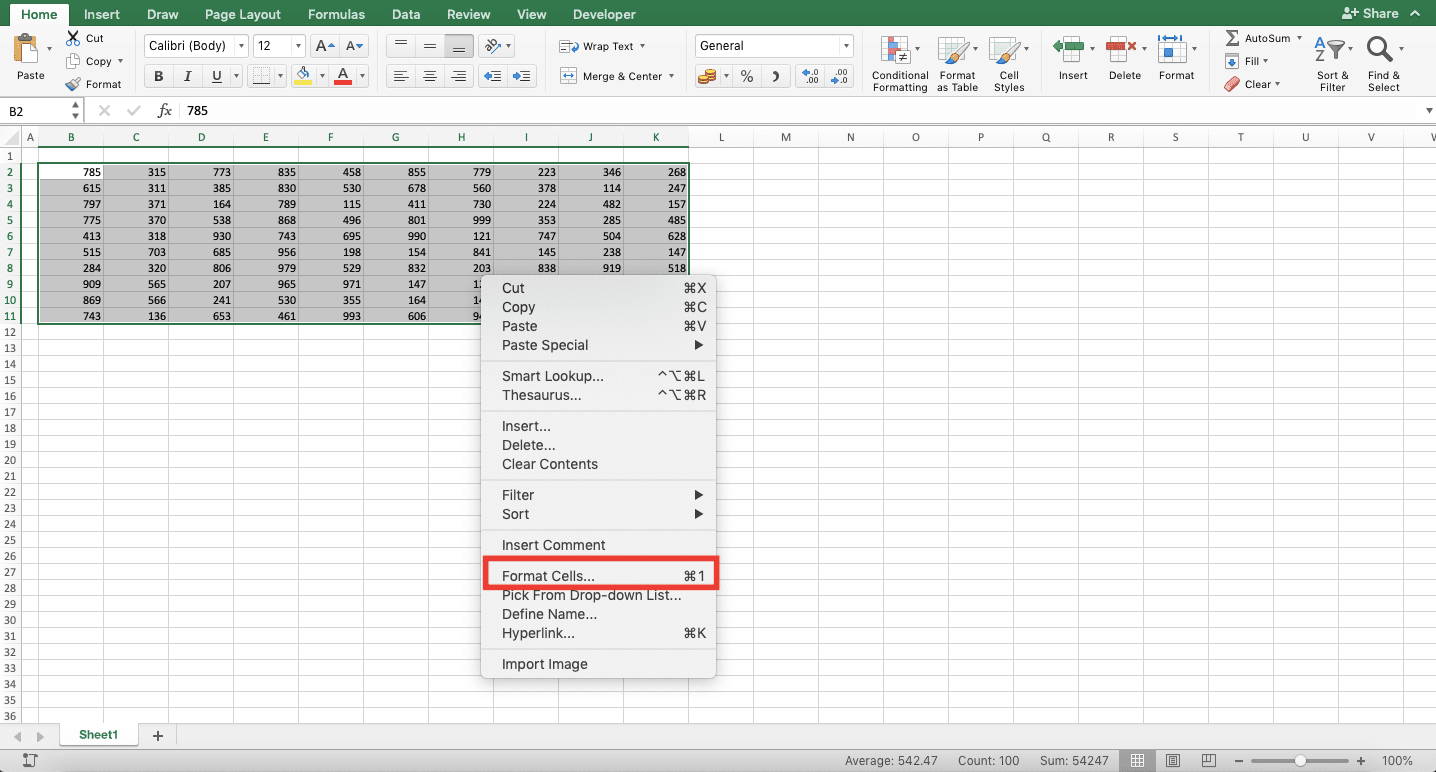
-
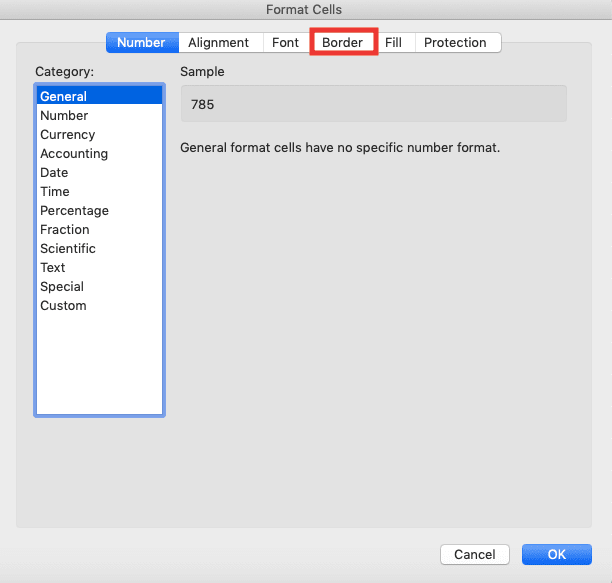
Go to the Border tab on the dialog box that shows up
-
Choose the line style and line color of your border on the left side

-
Add the border on the right side
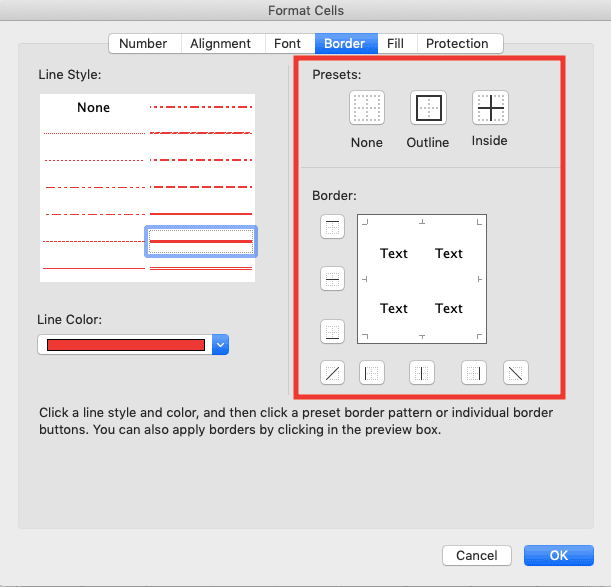
- Repeat steps 4 and 5 until you have finished adding your borders
-
Click OK

-
Done!

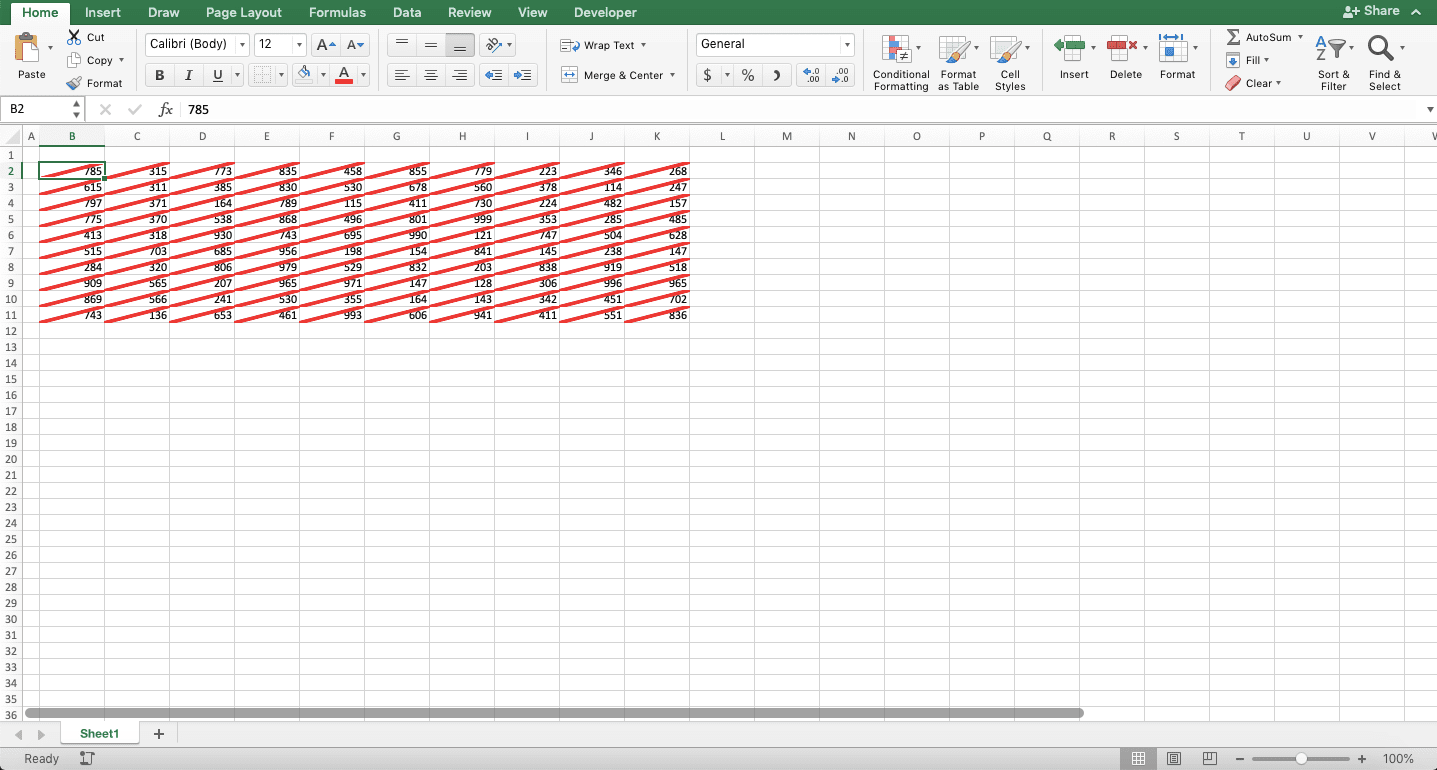
How to Add a Diagonal Line in Excel
Need to add a diagonal line in your cell/cell range? You can do that easily by following the steps below.First, highlight the cell/cell range where you want to add the diagonal line. Then, activate the excel border dialog box through the Borders dropdown button in the Home tab or Format Cells menu. You can see the dialog box activation steps again in the early steps of the border menu and format cell methods.
Then, in the border dialog box, choose the diagonal line style and color you want on its left side. After you choose them, add the diagonal line by clicking one of the buttons we highlight below (in red boxes).
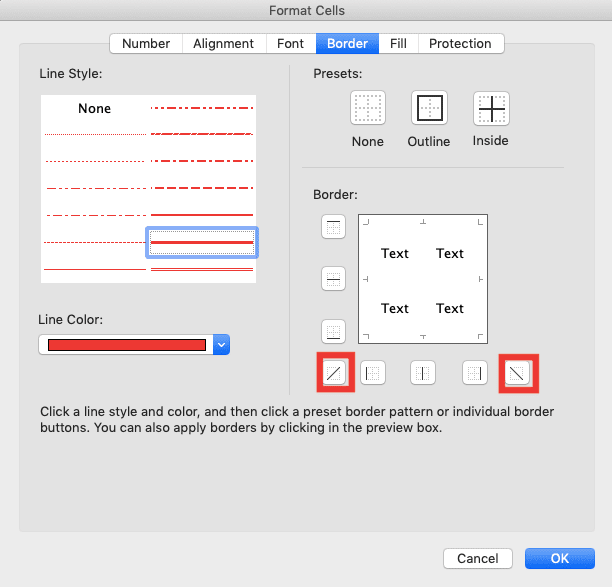
You can choose to add the diagonal line from right to left or left to right. After you click the button, the box above should display the form of the diagonal line you add.
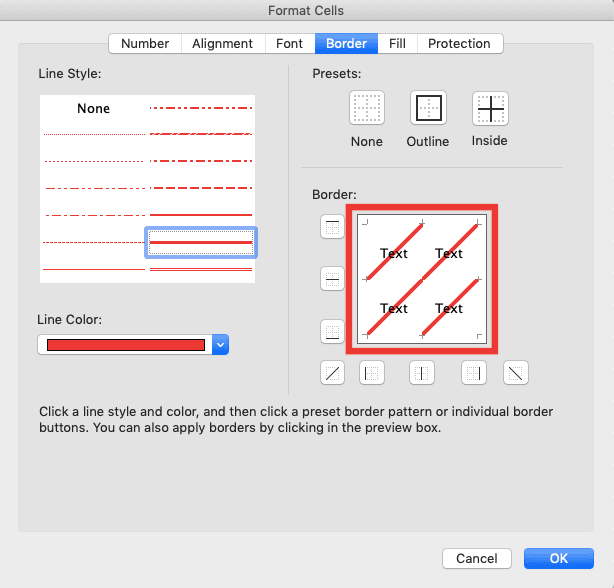
If you have finished adding the diagonal line you want, click OK. Now, your cell/cell range should have the diagonal line you set in the dialog box.
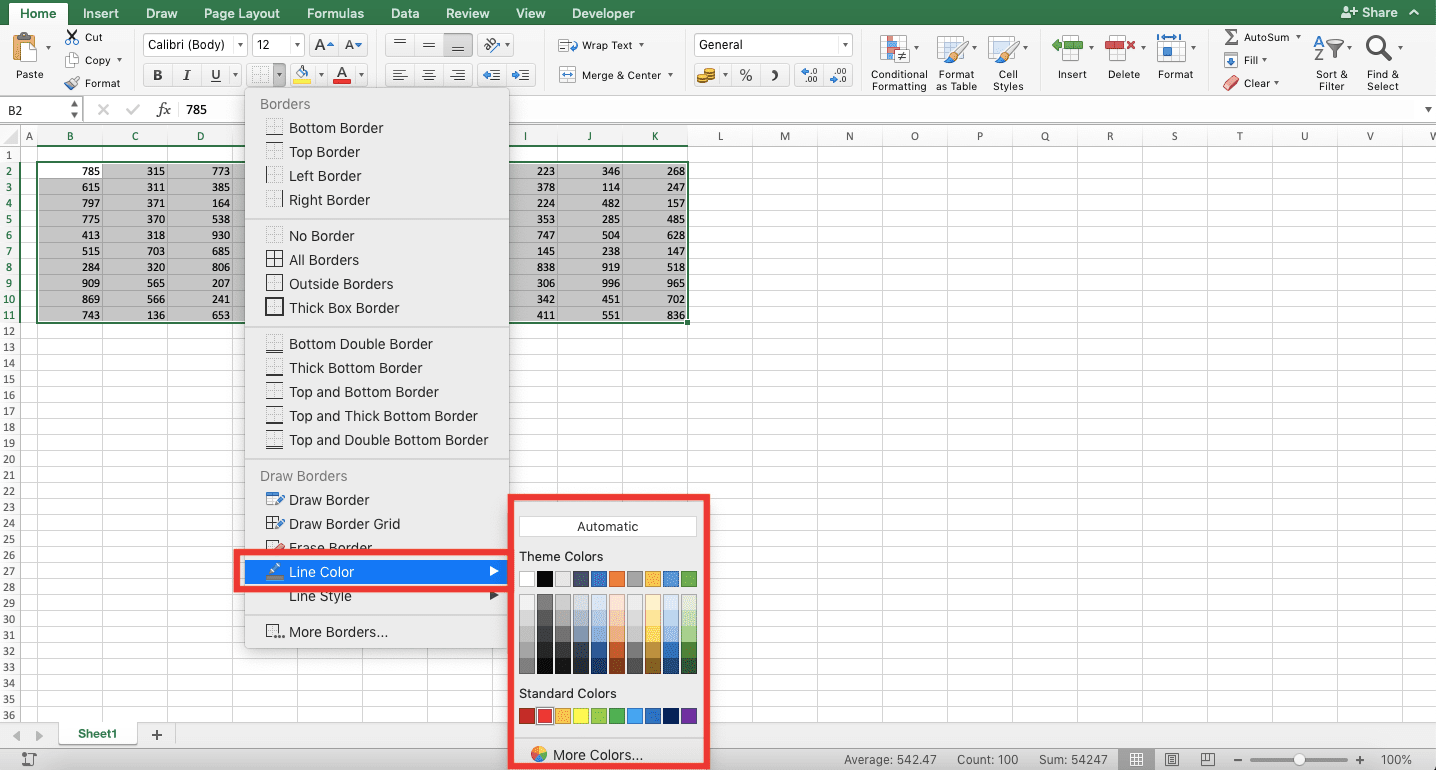
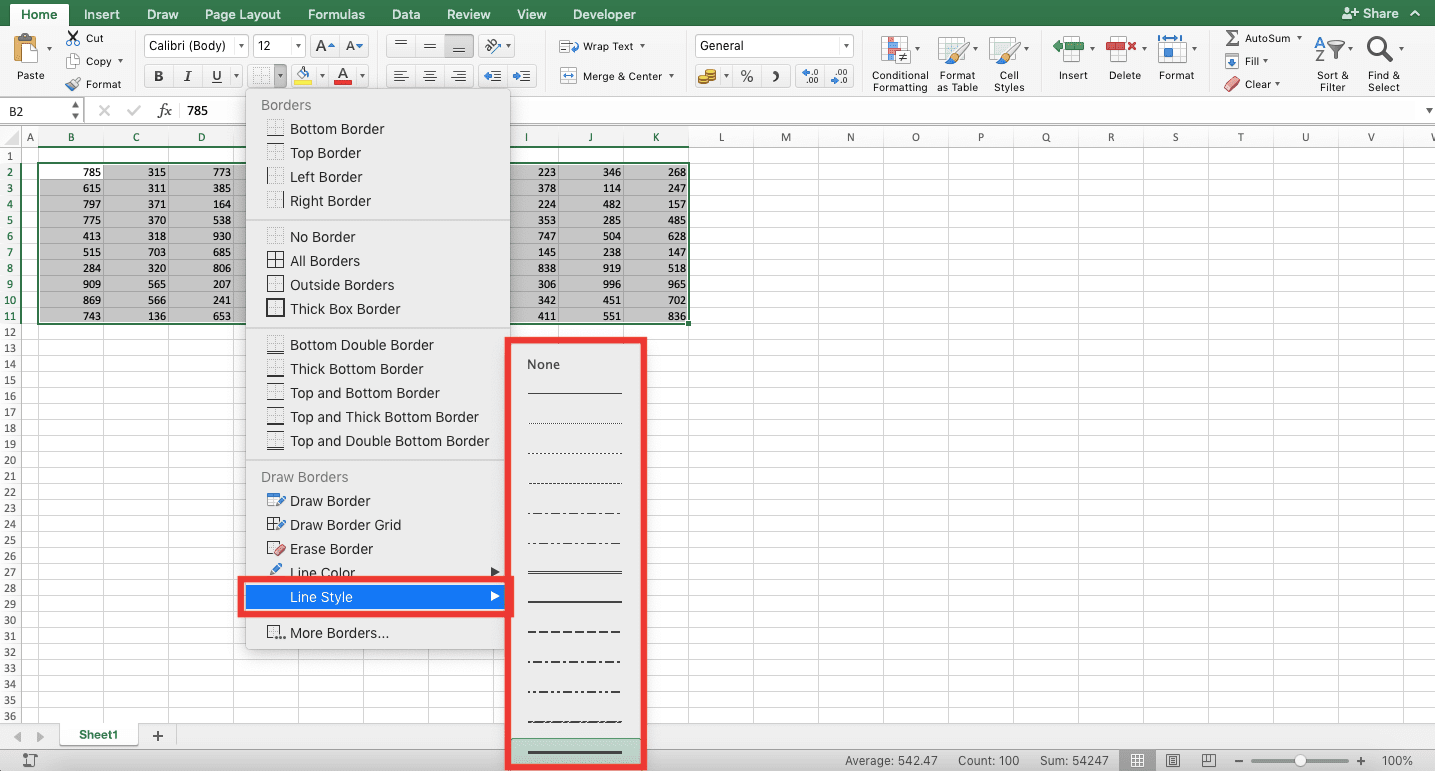
How to Change Borders Style and Color in Excel
As mentioned before, you can change the border’s style and color you add on the border dialog box’s left side. Set the style in the Line Style box and set the color in the Line Color dropdown there.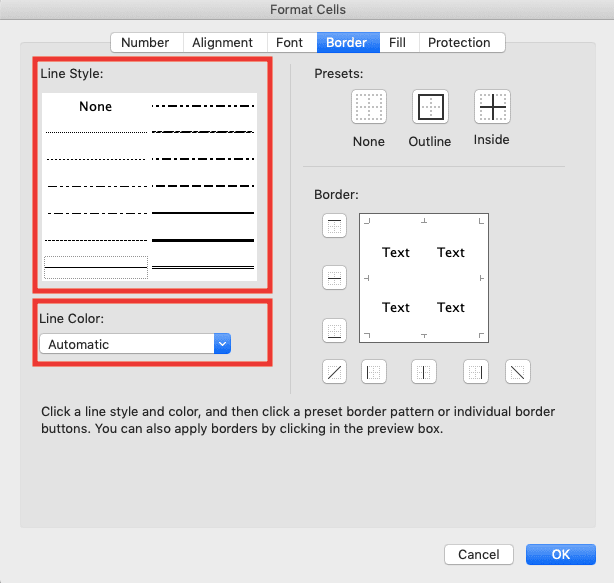
Then, just add the border line you have styled and colored on the right side of the border dialog box. Switch between that left side and right side until you have added all your borders with the preferred style and color!
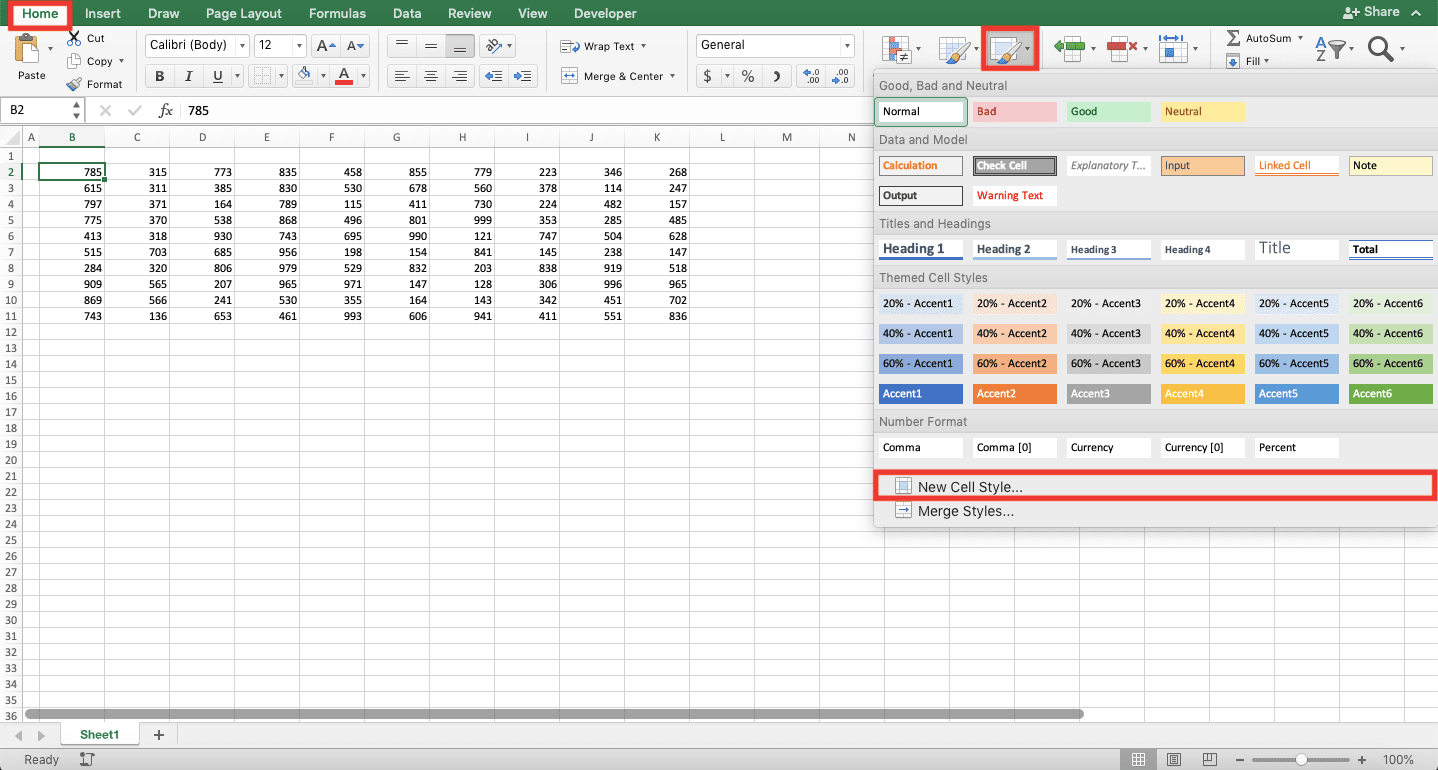
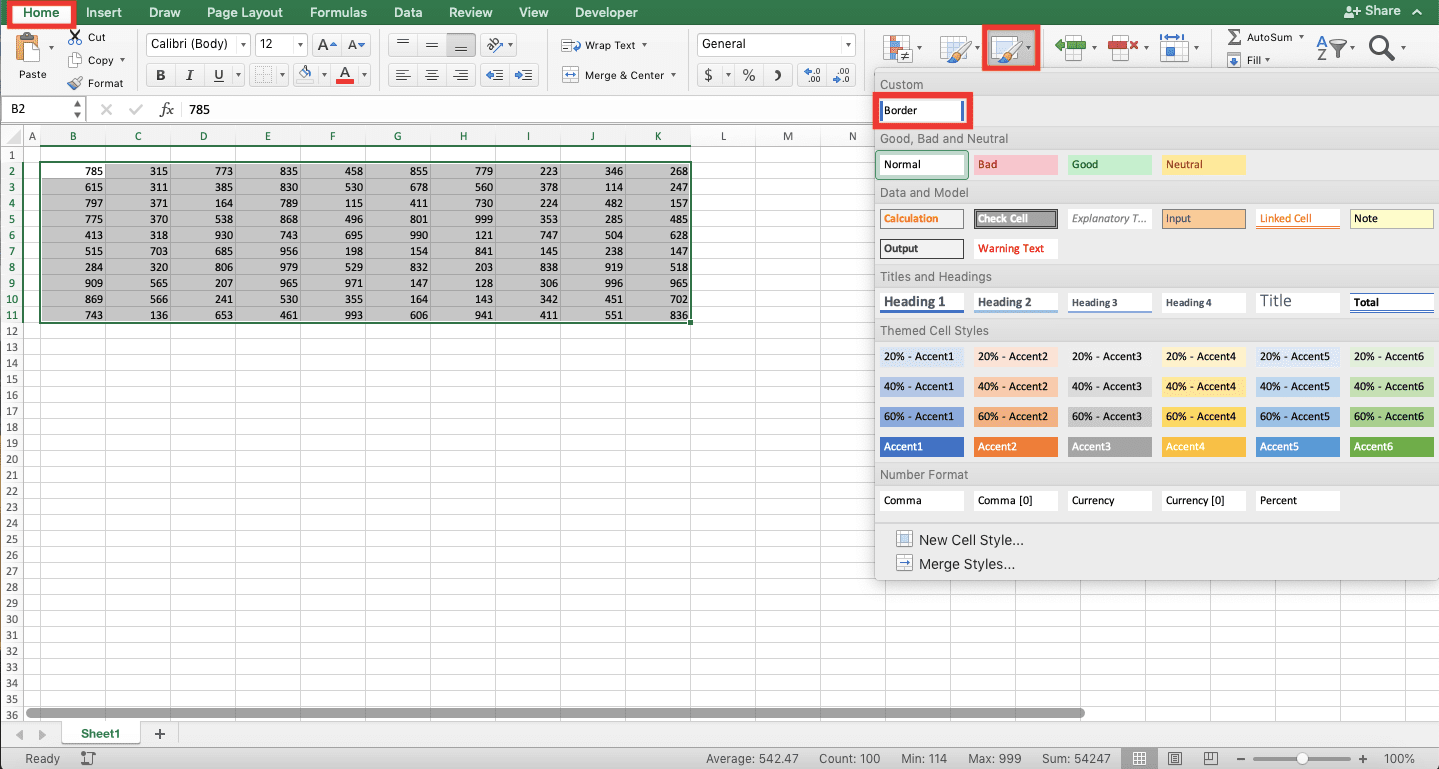
How to Create and Save a Custom Border Style
If you want a border template you can apply anytime, you can create and save a custom border style. To do that, you can apply the steps below.-
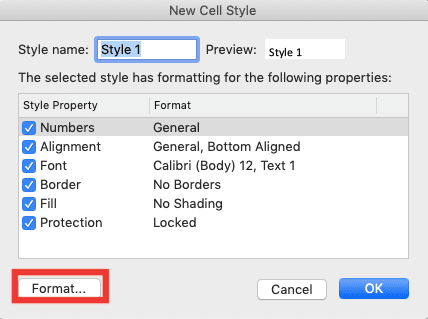
Go to the Home tab, click on the Cell Styles button, and choose New Cell Style… in the dropdown list
-
In the dialog box that shows up, click the Format… button
-
Go to the Border tab in the dialog box that shows up. Then, create the borders you want to save as the custom border style
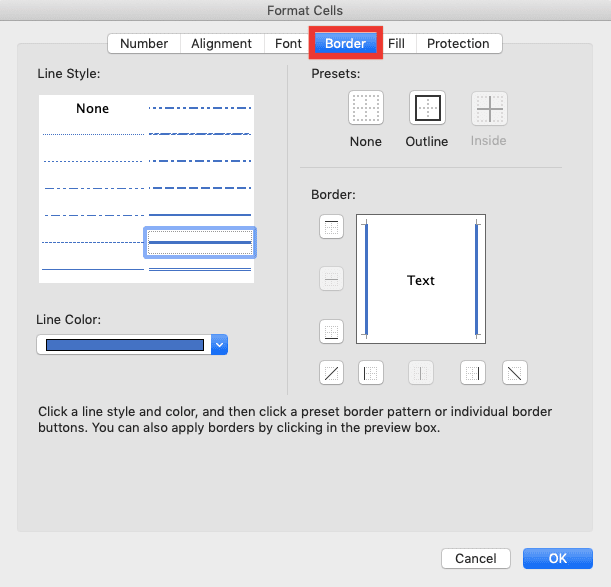
-
Click the OK button
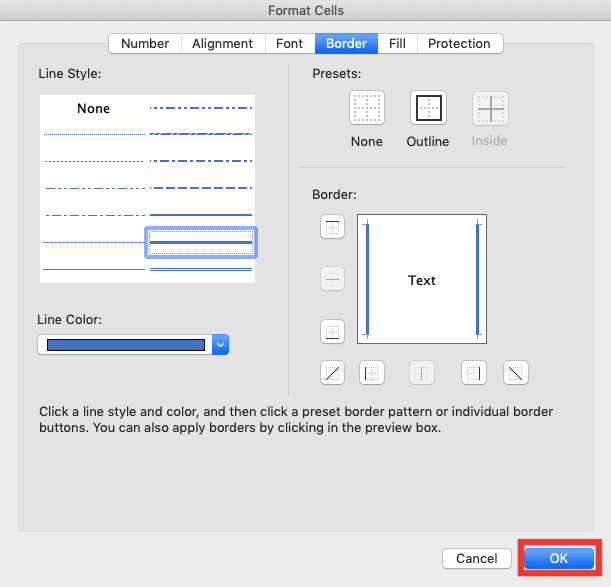
-
Give the name of the custom border style in the text box
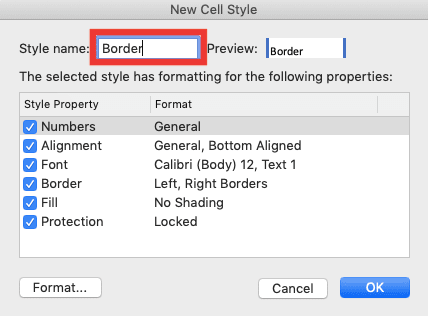
-
Click the OK button

-
Done! You have created and saved a custom border style according to your preference!
To apply the custom border style, just highlight the cell/cell range where you want to apply it. Then, go to the Home tab, click the Cell Styles button, and choose your custom border style there
How to Remove Borders in Excel
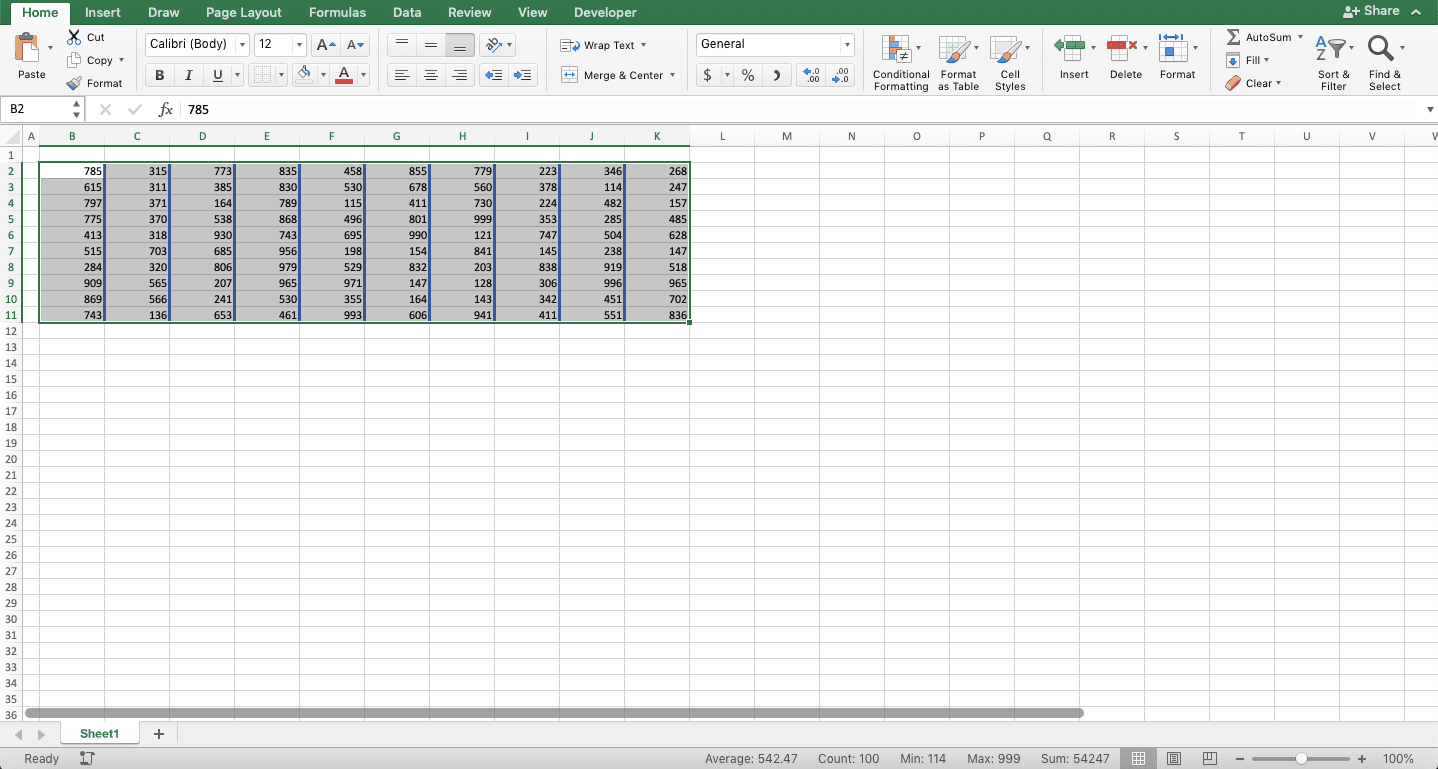
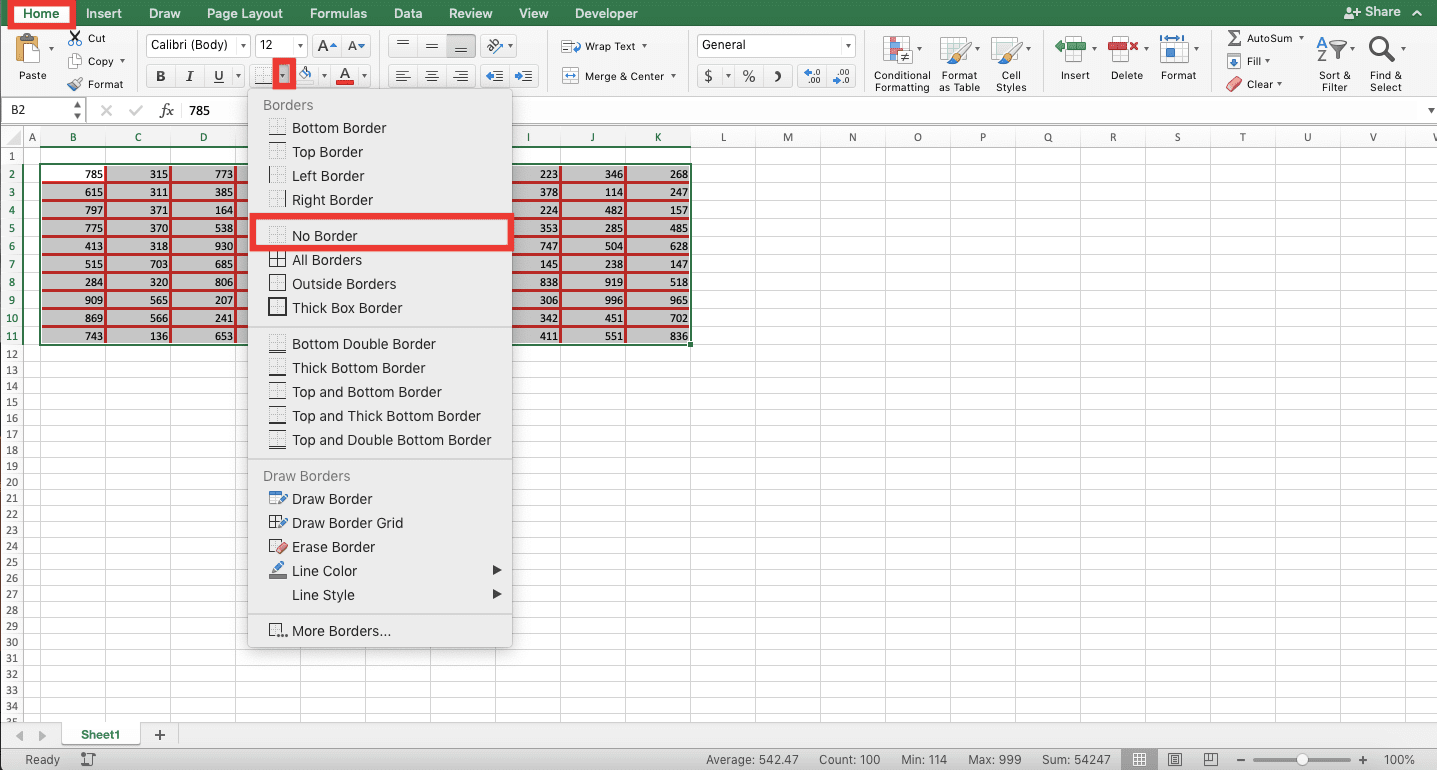
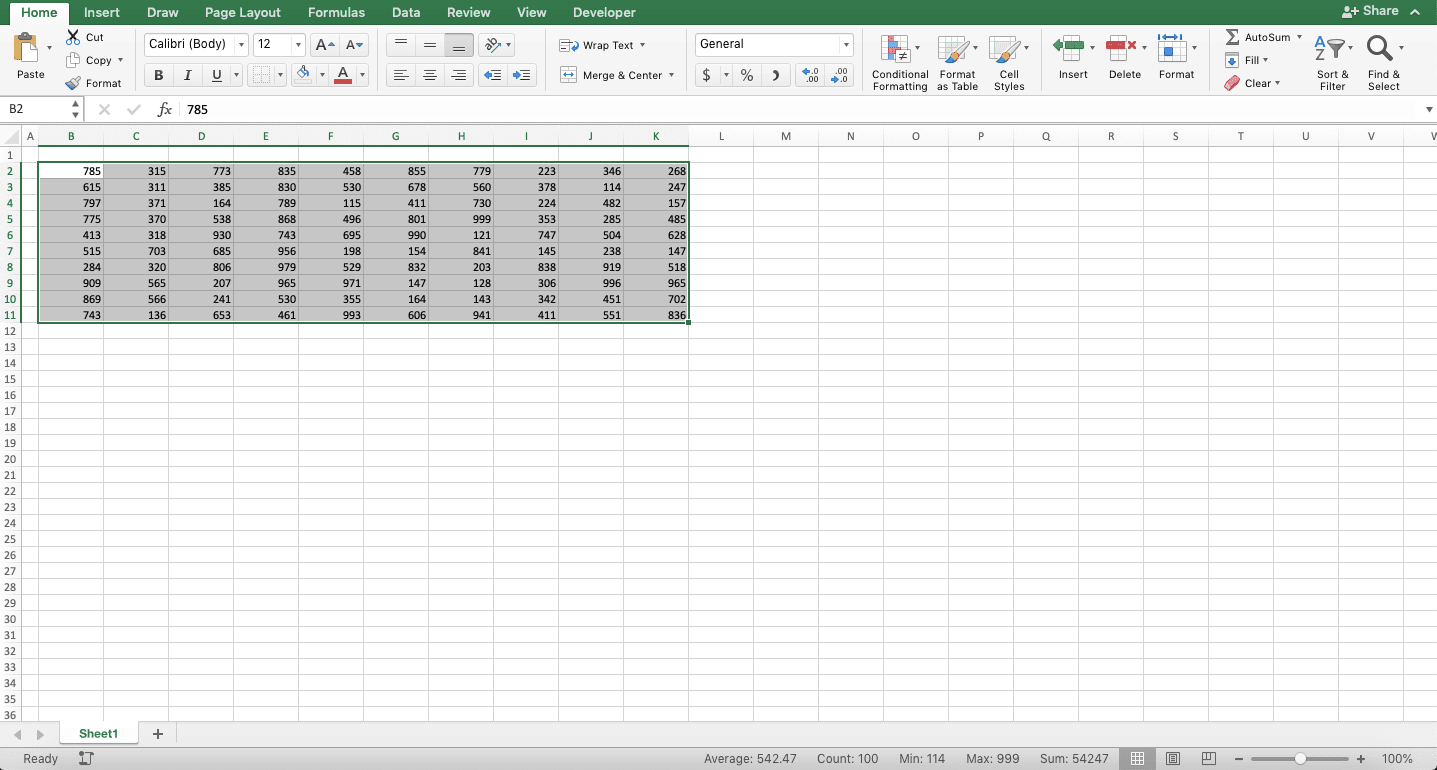
Need to remove the borders you have created on your cell/cell range? It is quite easy thing to do.Just highlight the cell/cell range which borders you want to remove first. Then, go to the Home tab, click the Borders dropdown button, and choose No Border.
You have removed all the borders in the cell/cell range you highlight!
If you need to remove the border line individually (not all the borders on your cell/cell range), then you should activate the border dialog box. On the right side of the dialog box, click the border line you want to remove.
Shortcut to Add Borders in Excel
Want to add/remove your borders without using a mouse? Here are the shortcut keys you can press on your keyboard to do that.| Shortcut to | Windows | Mac |
|---|---|---|
| Add outside border | Ctrl + Shift + & | Command + Option + 0 |
| Add/remove right side border | Alt + R | Command + Option + → |
| Add/remove left side border | Alt + L | Command + Option + ← |
| Add/remove top side border | Alt + T | Command + Option + ↑ |
| Add/remove bottom side border | Alt + B | Command + Option + ↓ |
| Add/remove upward diagonal border | Alt + D | |
| Add/remove horizontal interior border | Alt + H | |
| Add/remove vertical interior border | Alt + V | |
| Remove borders | Ctrl + Shift + _ | Command + Option + - |
You should be able to add your borders fast if you can memorize and practice these shortcut keys frequently in excel!
Exercise
After you understand how to add borders in excel through different methods, now is the time to test your understanding. We will do the test through the exercise below!Download the exercise file.
Link to the exercise file:
Download here
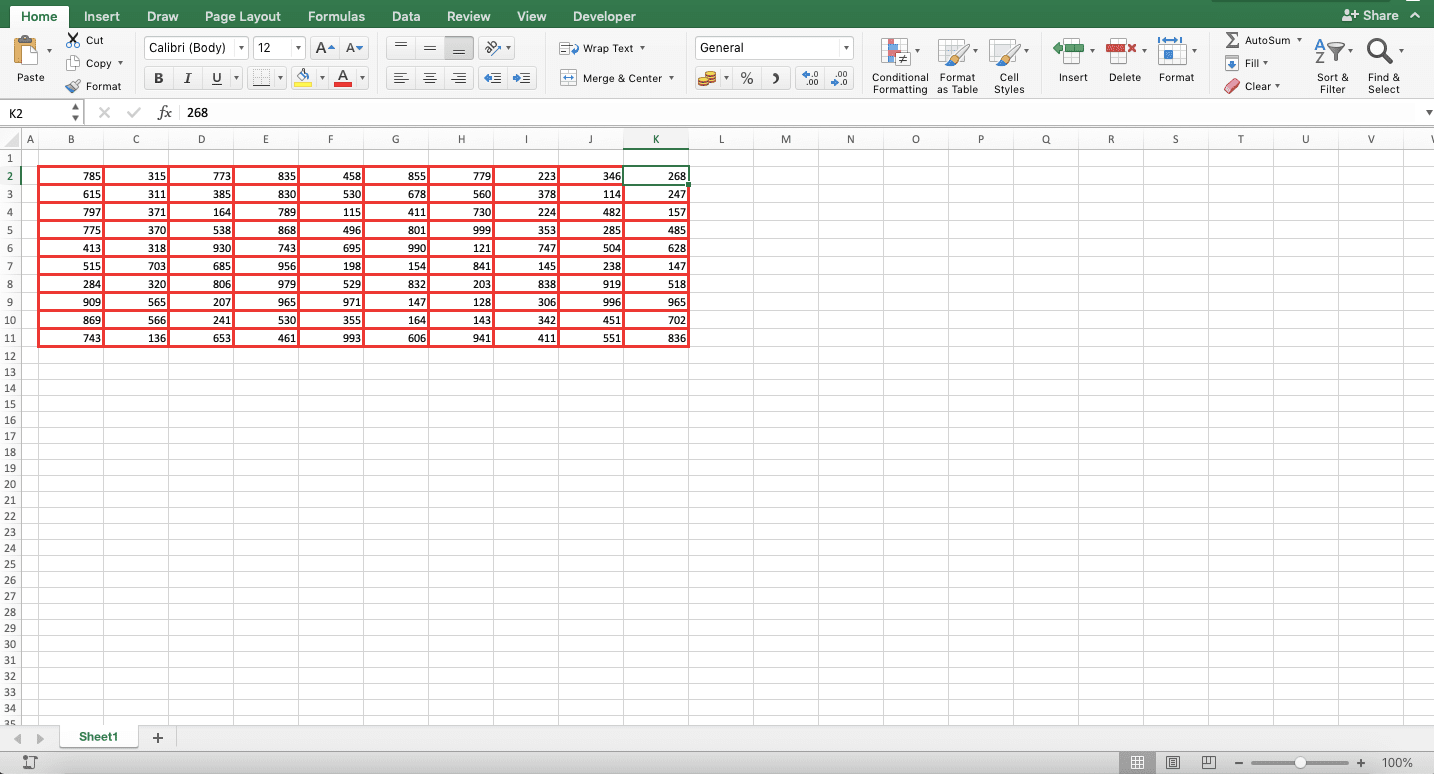
Look at the data display in sheet 1 and sheet 2. Try to make the data display in sheet 1 become like in sheet 2 (with the same borders).
What is the result? Can you do it?
Additional Note
If you want to add borders to all your cells, press the Ctrl + A (Command + A in Mac) buttons to select all your cells first. Then, add the borders, as usual, using one of the methods we have discussed in this tutorial!RRelated tutorials you should learn from: