

How to Move Columns in Excel


In this tutorial, you will learn how to move columns in excel completely.
When we work in excel, we might sometimes need to move some columns we have to another position. We might need to do that to get a better view of our data table or their current position is just wrong.
There are several methods we can use to move columns in excel. Want to know what are they and how to implement them correctly? Read this tutorial until its last part!
Disclaimer: This post may contain affiliate links from which we earn commission from qualifying purchases/actions at no additional cost for you. Learn more
Want to work faster and easier in Excel? Install and use Excel add-ins! Read this article to know the best Excel add-ins to use according to us!
Table of Contents:
How to Move Columns in Excel 1: Shift Button and Drag
Now, let us see how to move columns in excel by using the first method. This method involves the utilization of the Shift button on our keyboard.-
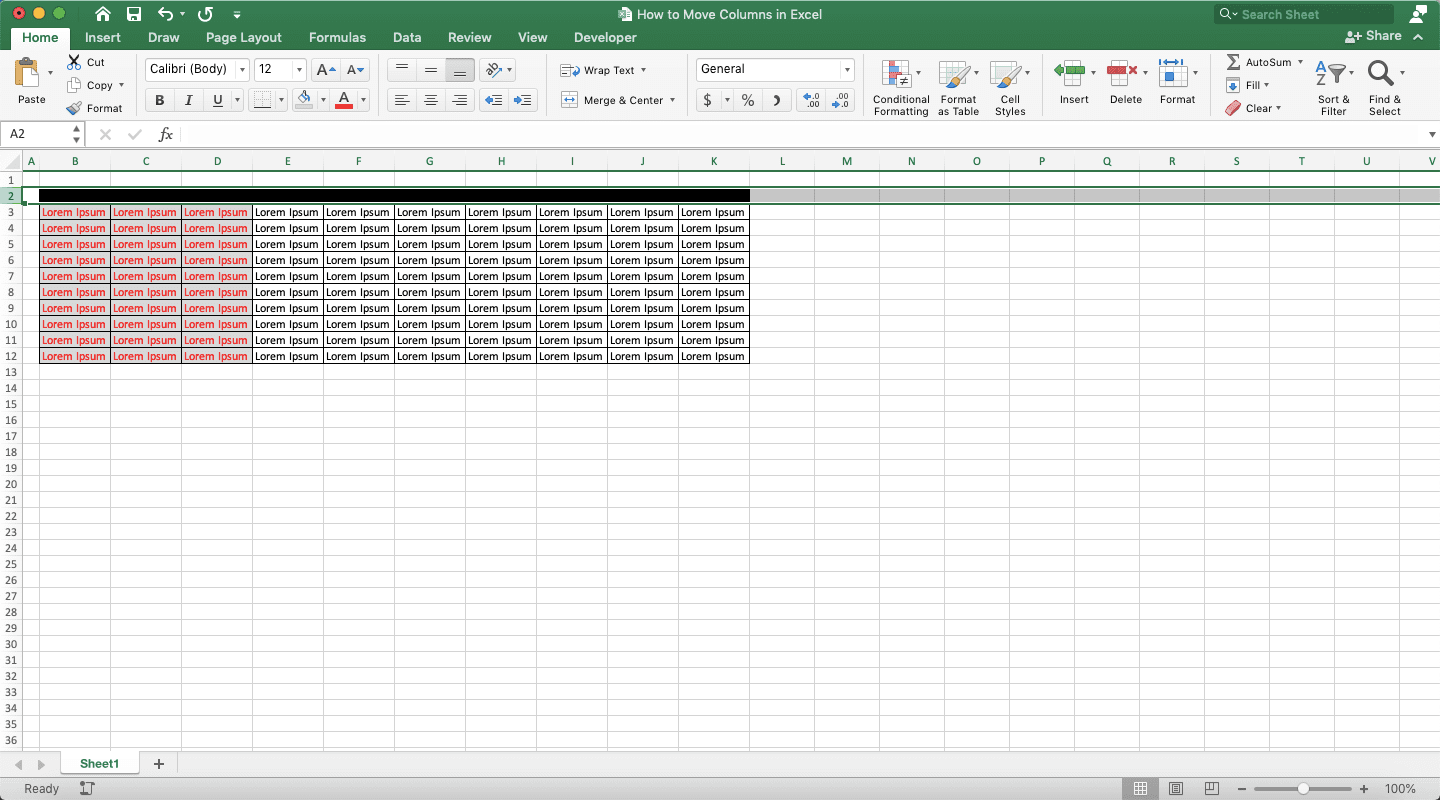
Highlight the column you want to move by clicking on its letter note on the top. If you want to move multiple adjacent columns, click and drag on their letter notes until all of the columns have been highlighted

-
Move your pointer to the right/left edge of the columns you highlight until your pointer changes form into its drag icon
-
Press and hold the Shift button on your keyboard while clicking and dragging the highlighted columns into the position you want

- Release the drag when your pointer is already on your preferred position of your columns
-
Done!
How to Move Columns in Excel 2: Cut & Paste
Another method you can use is by using cut and paste. Here are the steps to implement the method.-
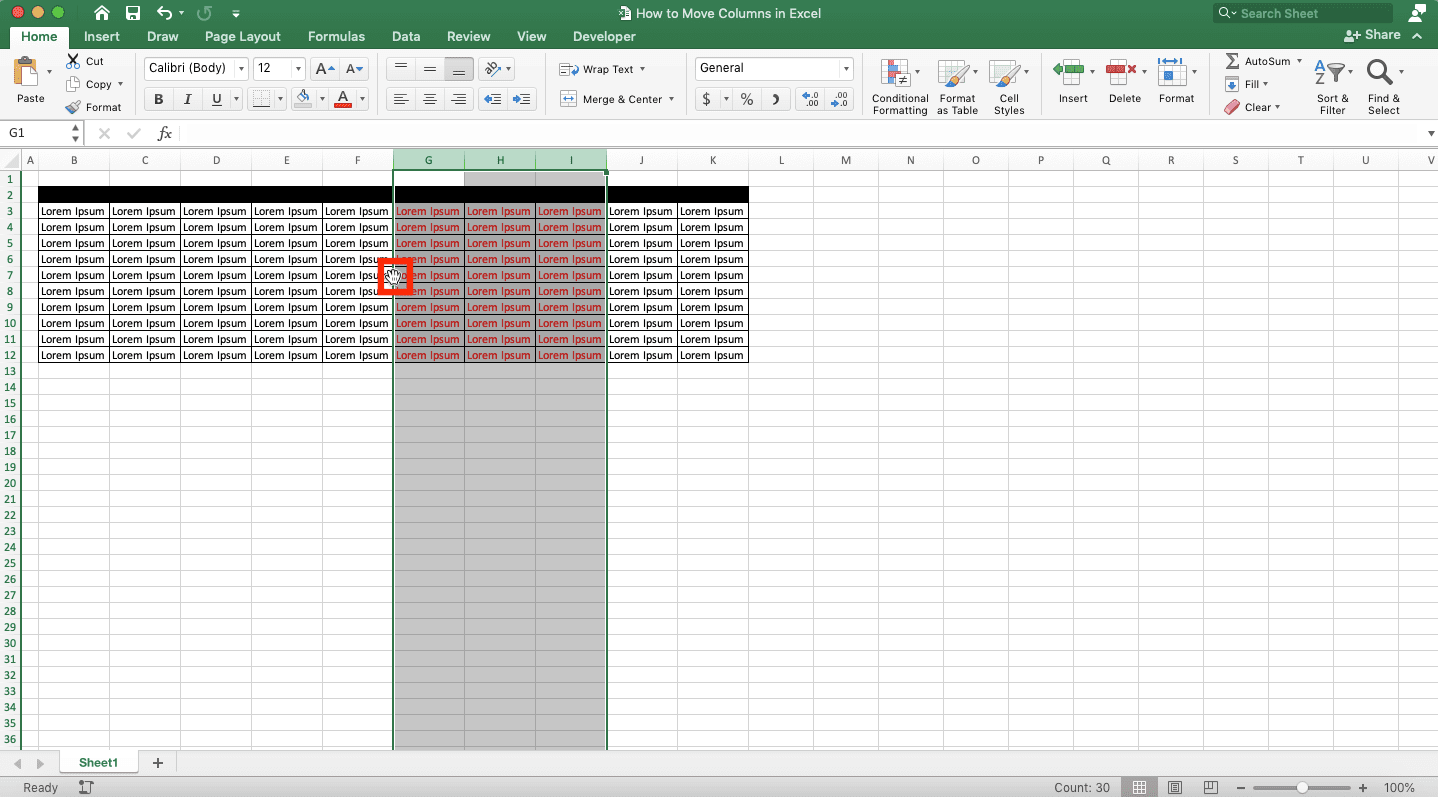
Highlight the column you want to move by clicking on its letter note on the top. If you want to move multiple adjacent columns, click and drag on their letter notes until all of the columns have been highlighted
-
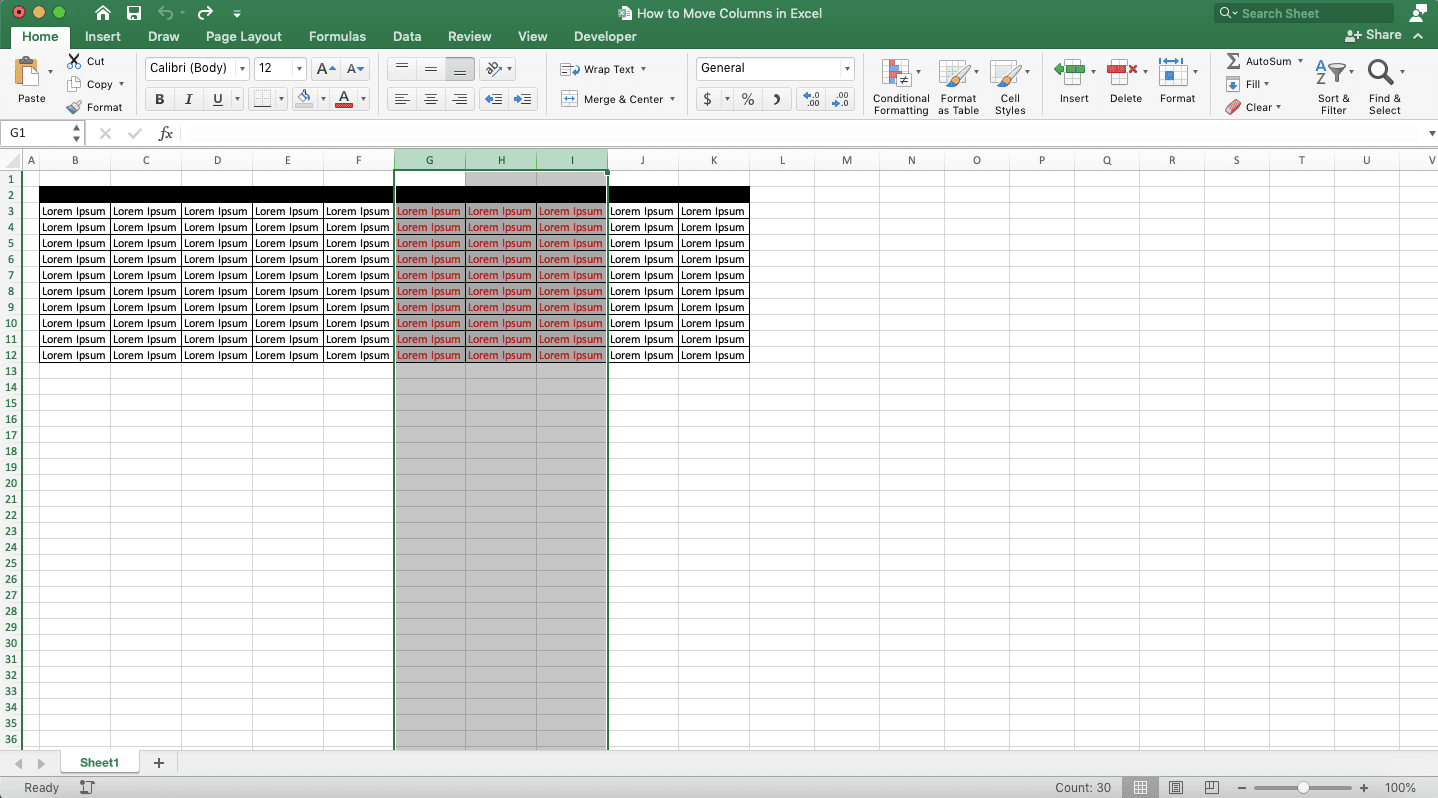
Right-click on the columns you highlight and choose Cut (or just press Ctrl + X (Command + X on Mac) buttons)

-
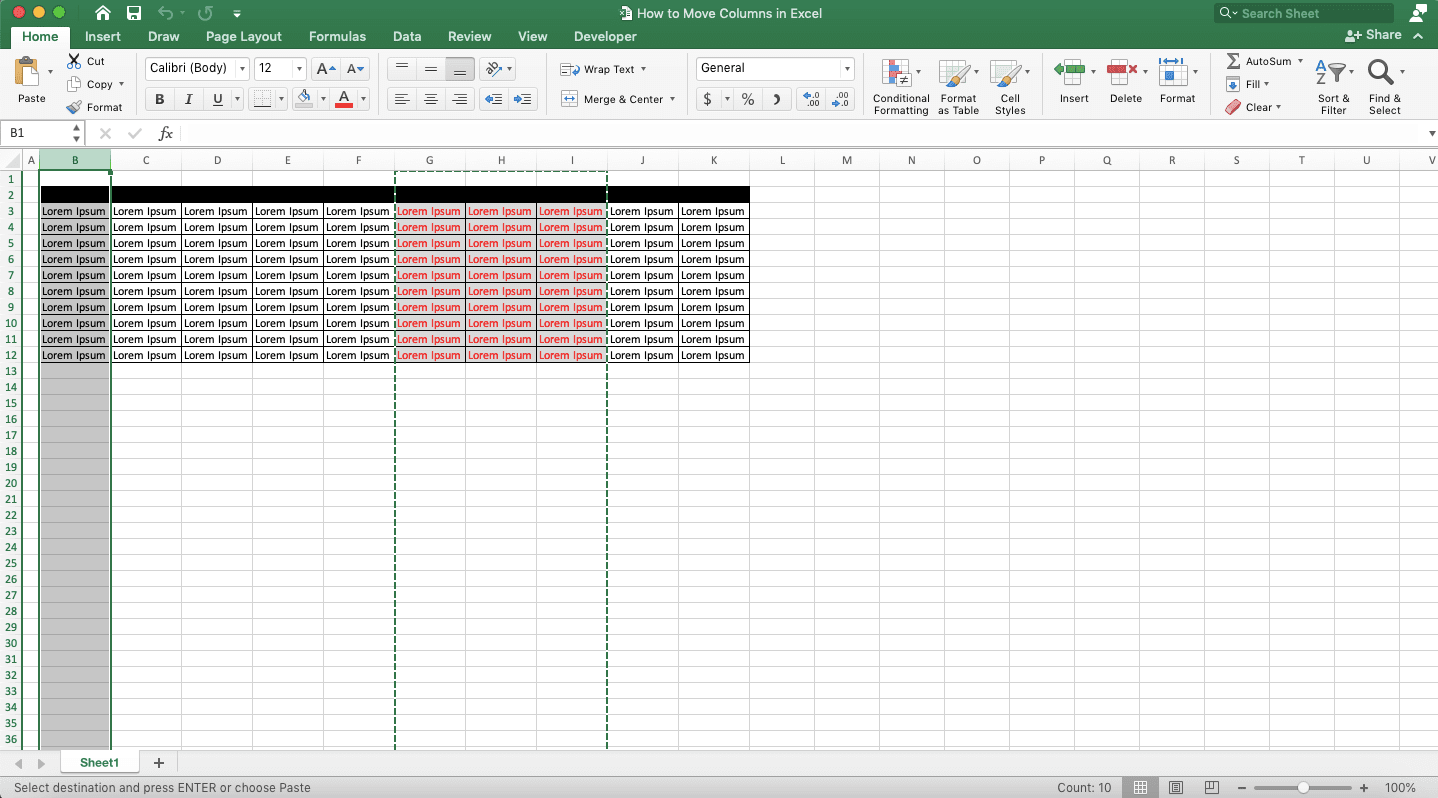
Highlight the column on the right of where you want to move your columns
-
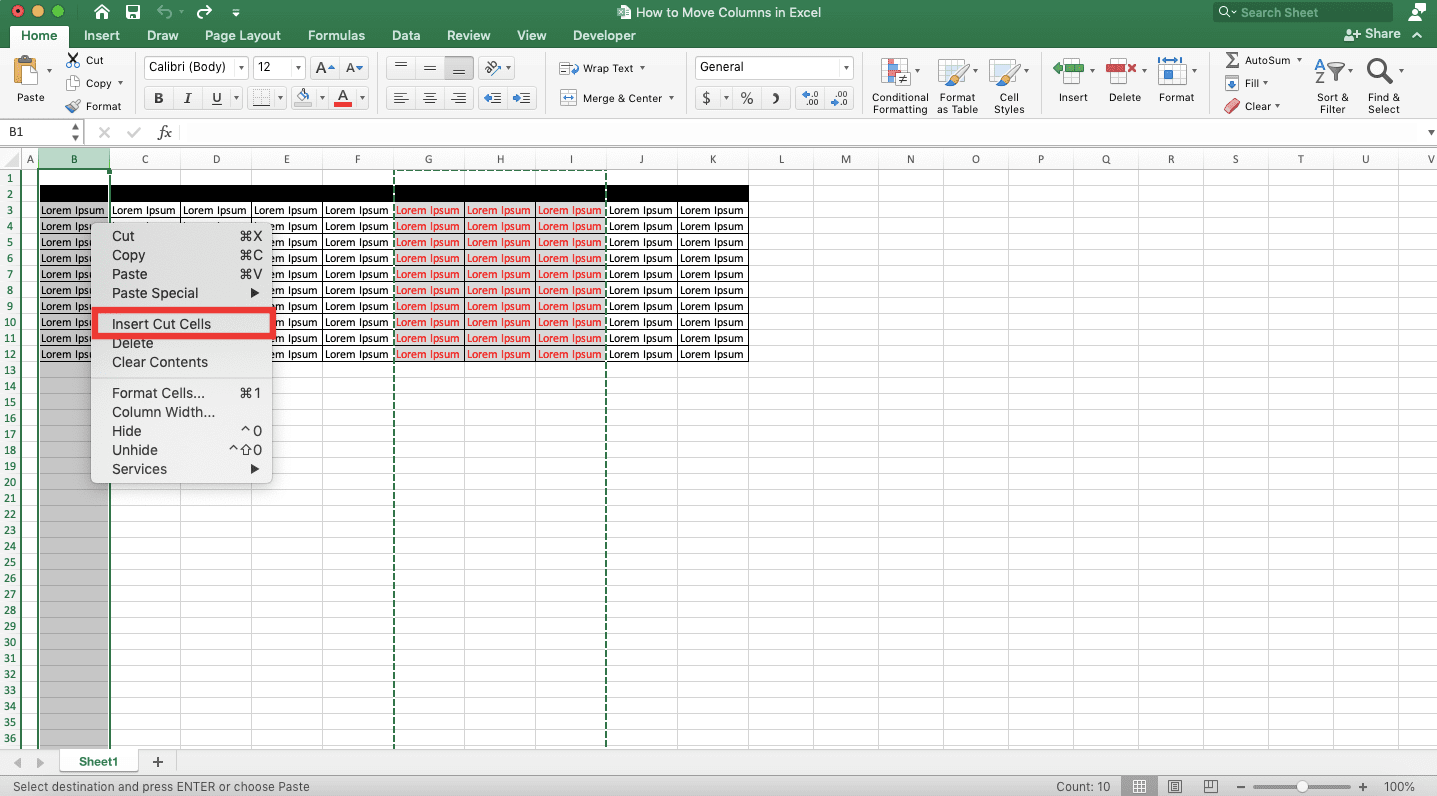
Right-click on the column you highlight and choose Insert Cut Cells
-
Done!
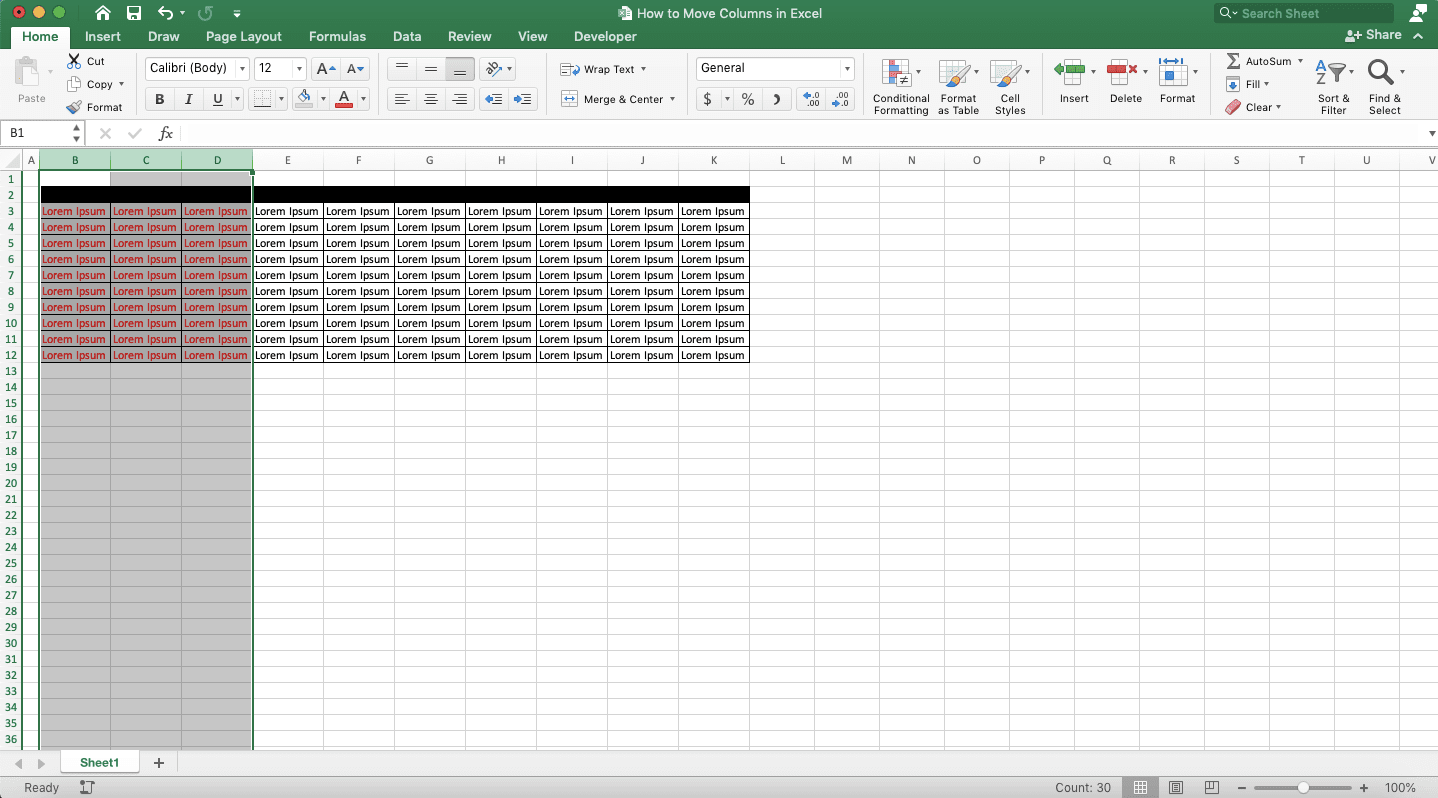
How to Move Columns in Excel 3: Sort
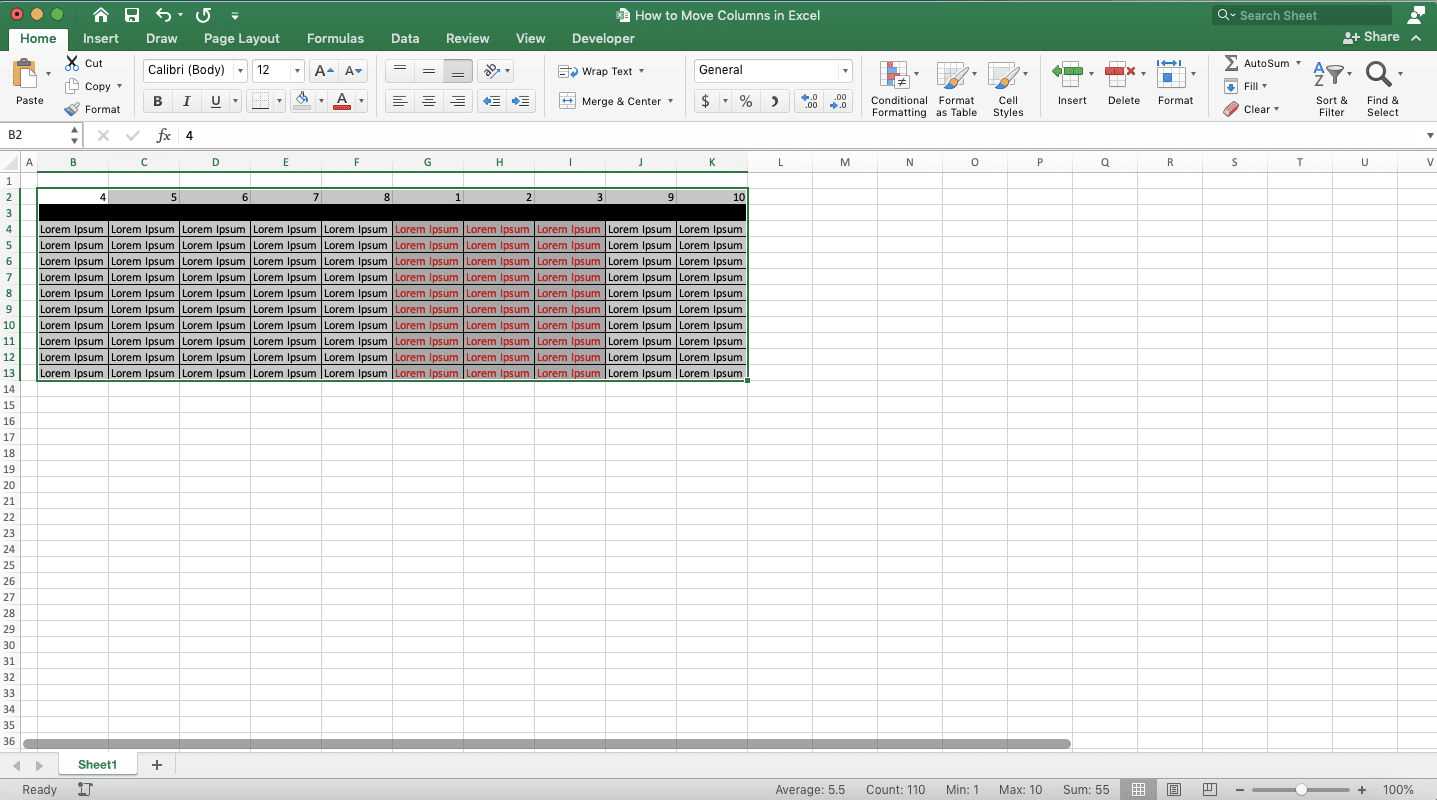
You can also use the sort feature in excel to move your columns. This method is probably the most efficient one if you need to rearrange the position of many non-adjacent columns at once.-
Highlight the top row of your data table by clicking on its number note on the left
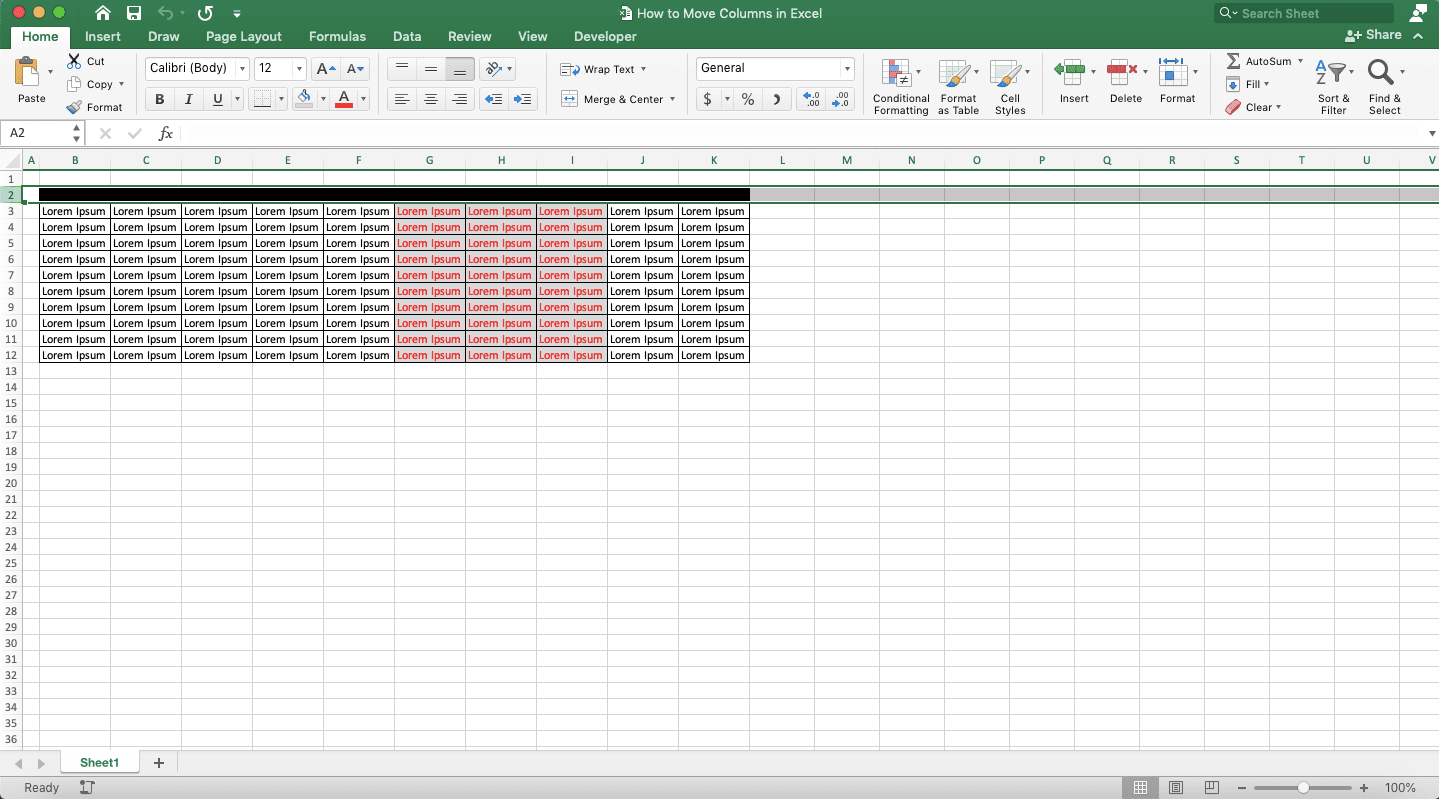
-
Right-click on the highlighted row and select Insert
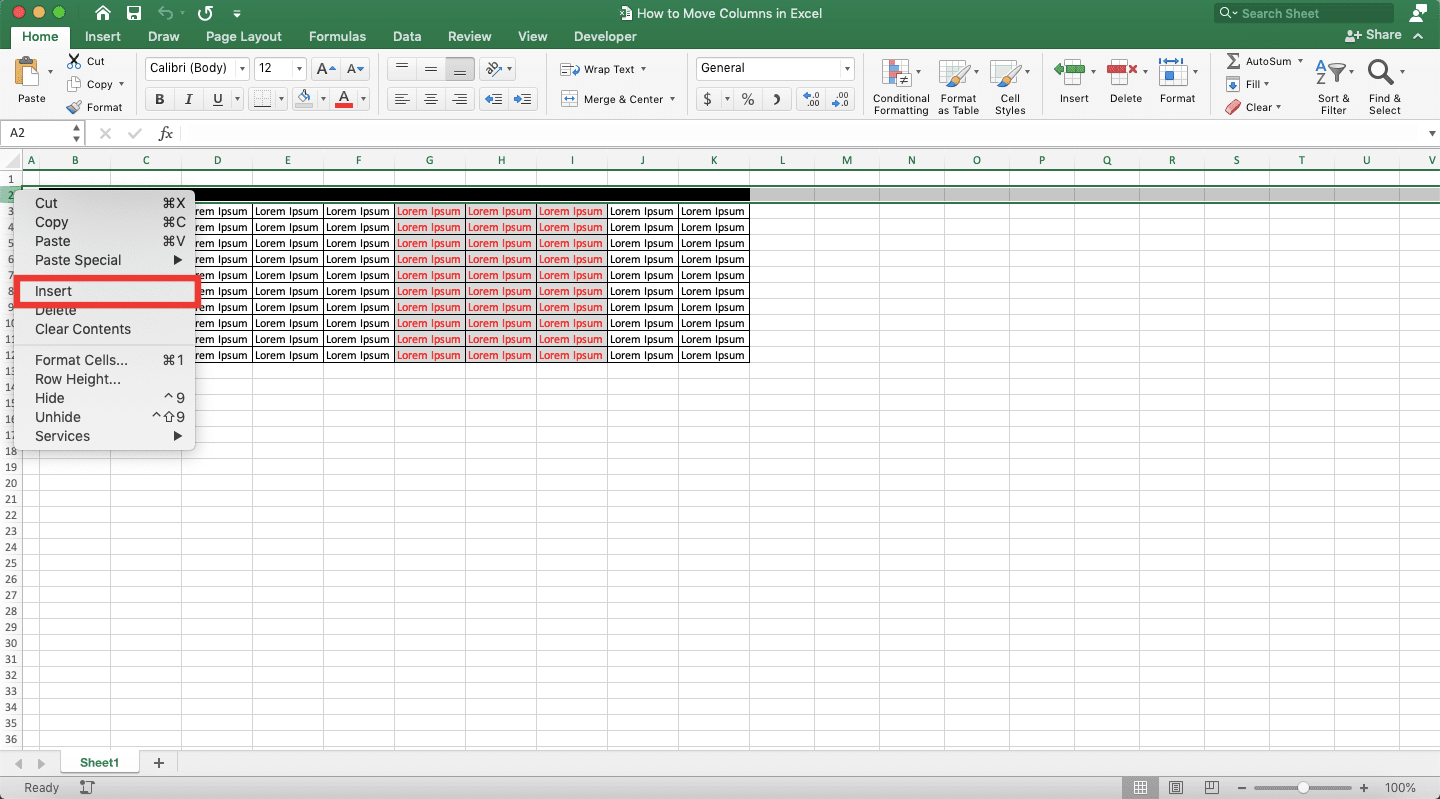
-
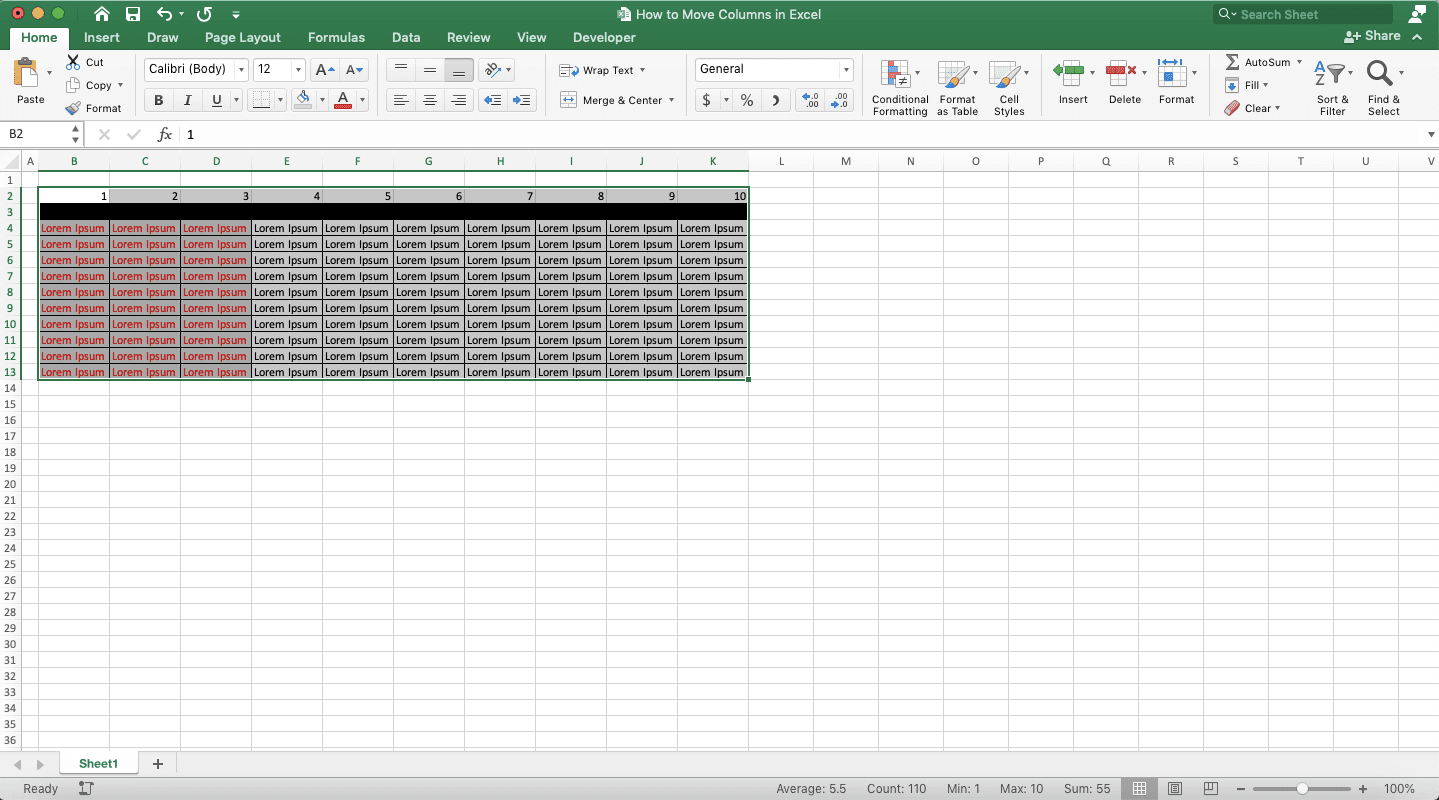
In the new row, input the new order you want for each column in your data table
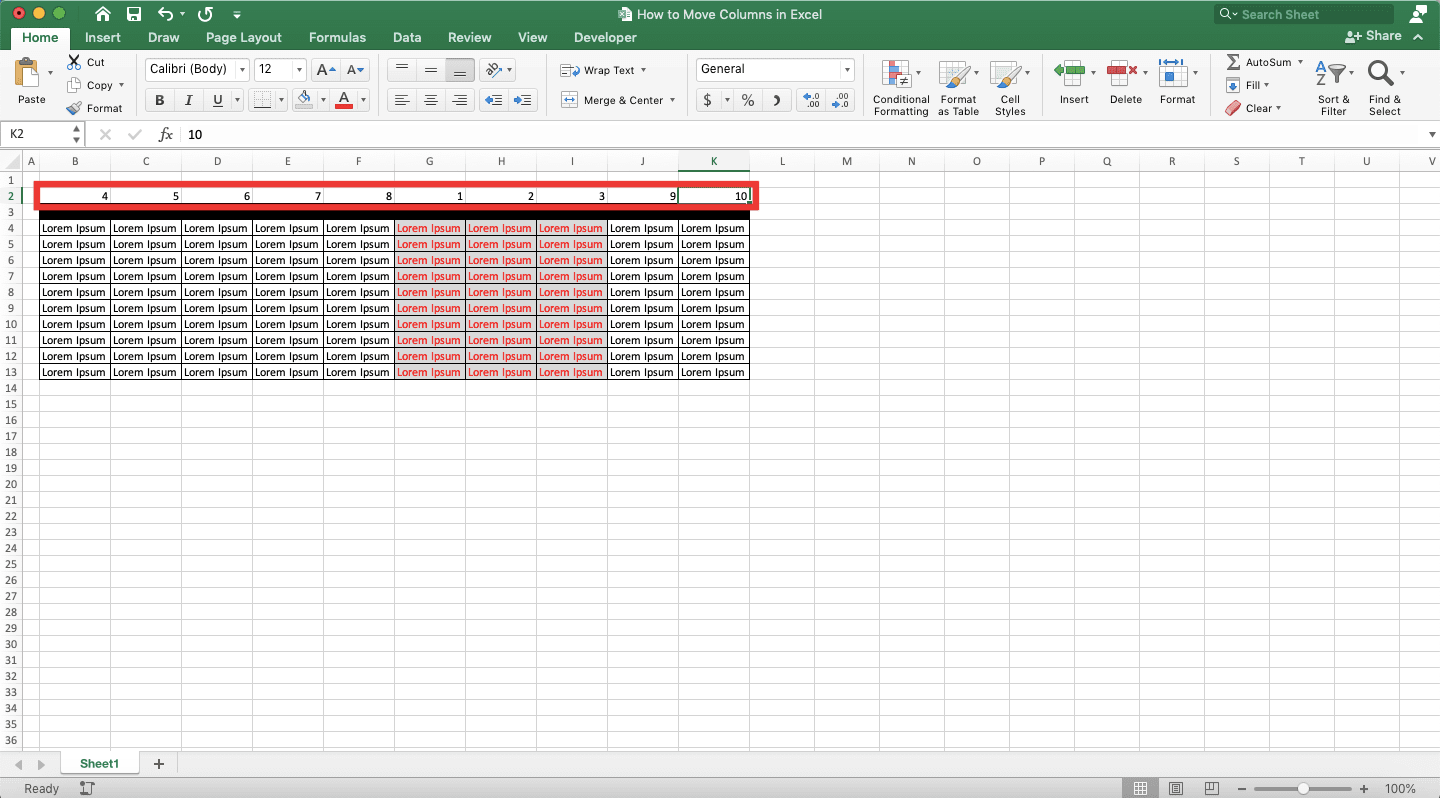
-
Highlight your data table including the new row with the order of the columns by clicking and dragging across them
-
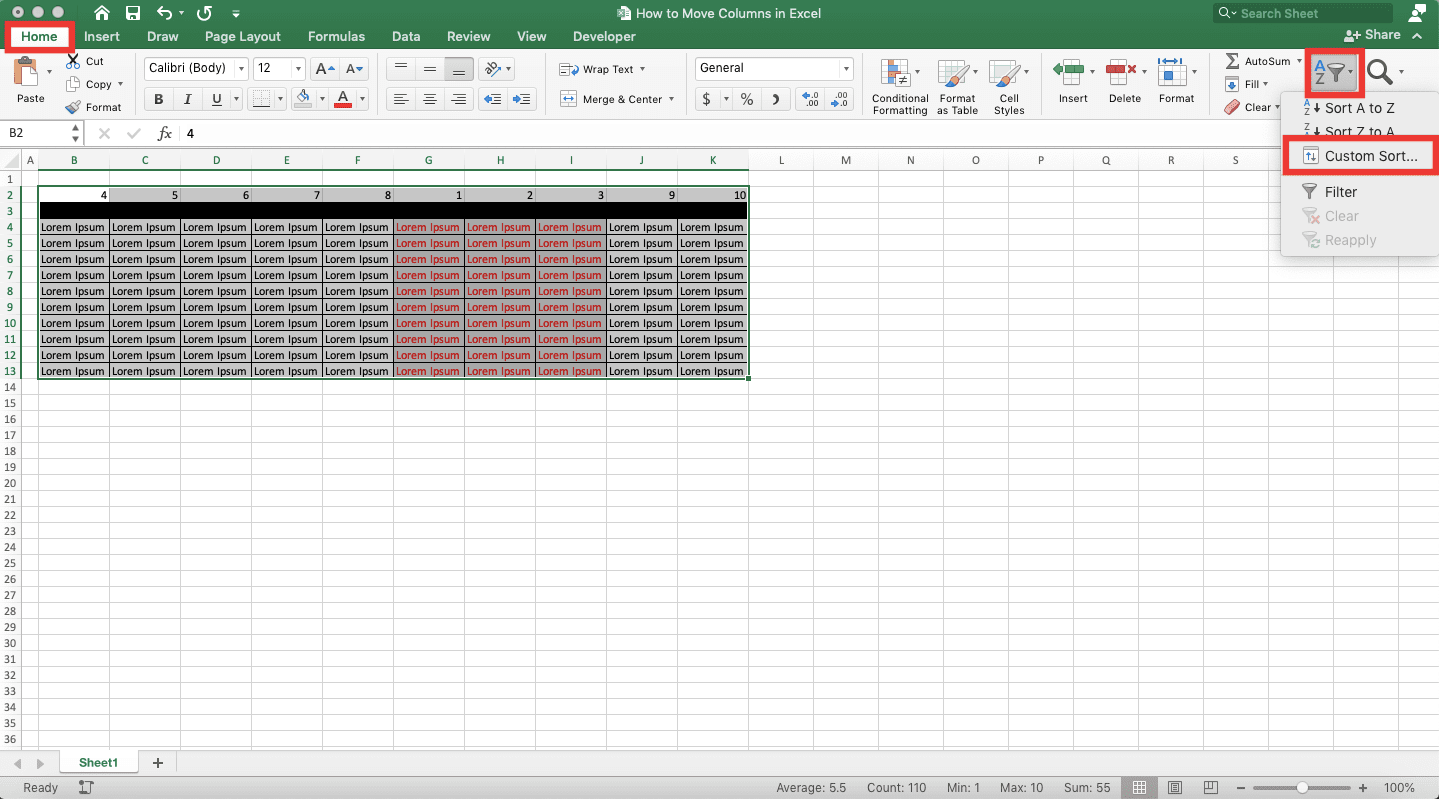
Go to the Home tab in your ribbon, click the Sort & Filter button, and choose Custom Sort… from the choices displayed
-
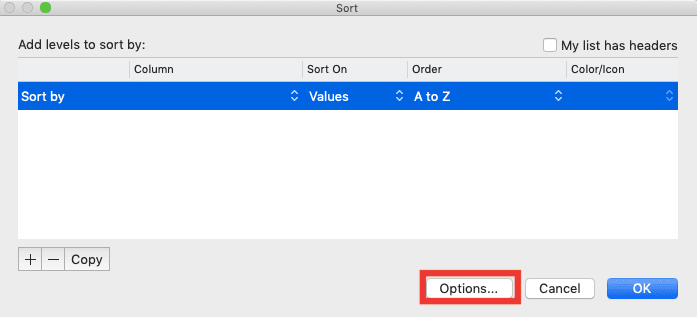
In the dialog box that shows up, click the Options… button
-
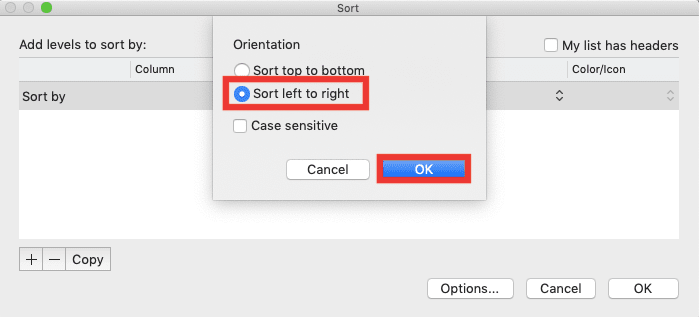
Choose the Sort left to right orientation option and click OK
-
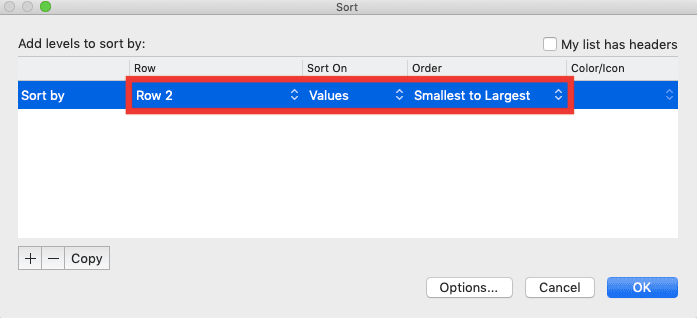
In the Sort by row, choose the row number of the row with the order of the columns in the Row column. Then, choose Values in the Sort on column and Smallest to Largest in the Order column
-
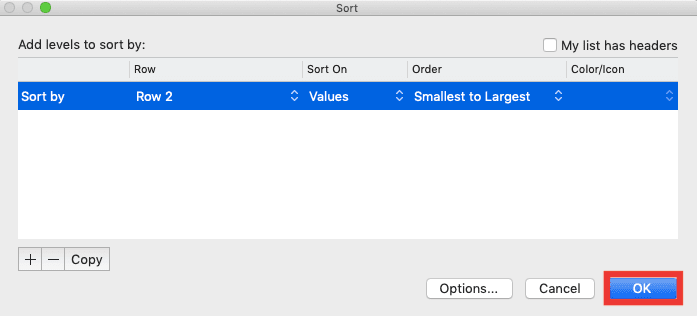
Click OK
-
Your data table columns have been rearranged according to the order you specify
-
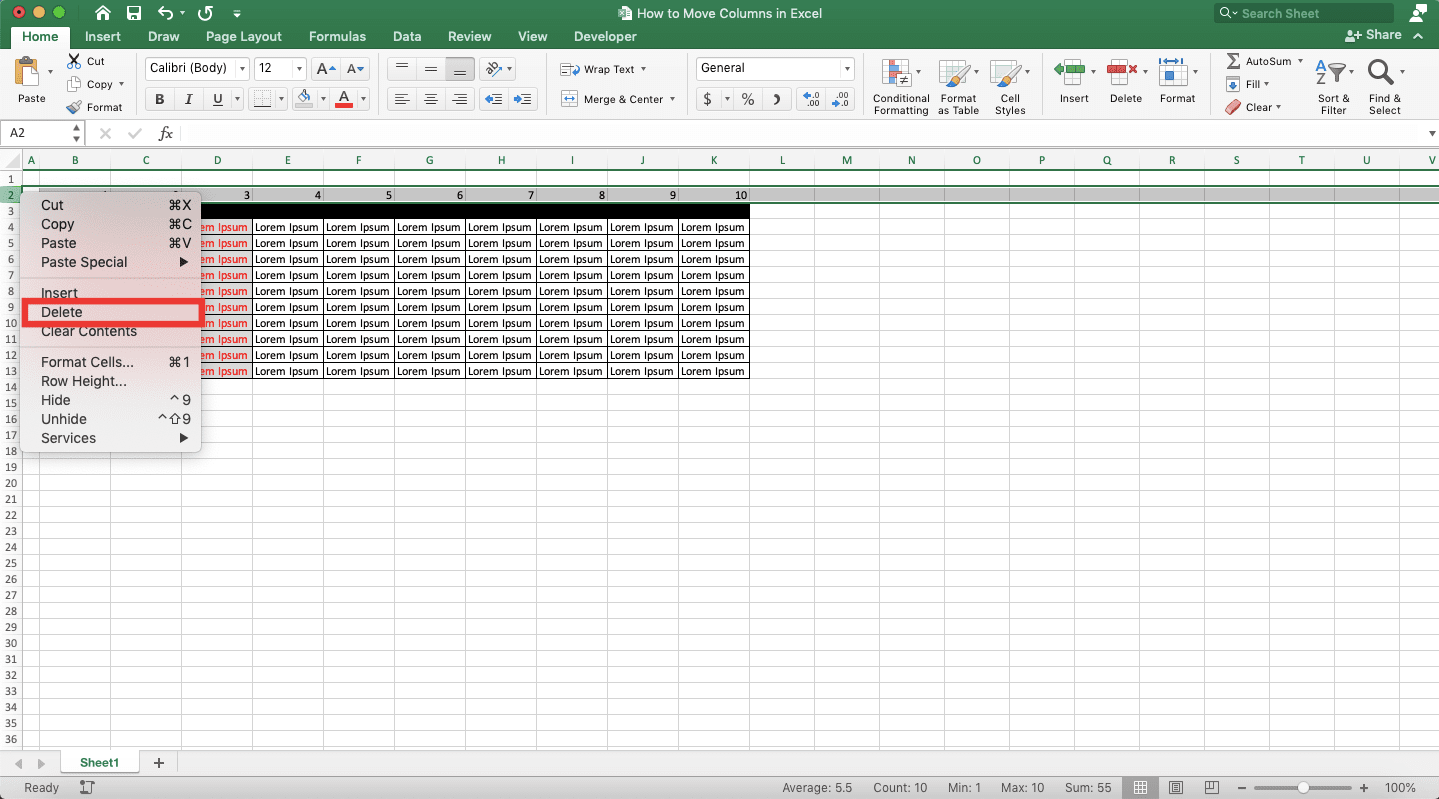
Highlight the row with the order of the columns, right-click on it, and choose Delete
-
Done!
How to Move Columns to Another Worksheet in Excel
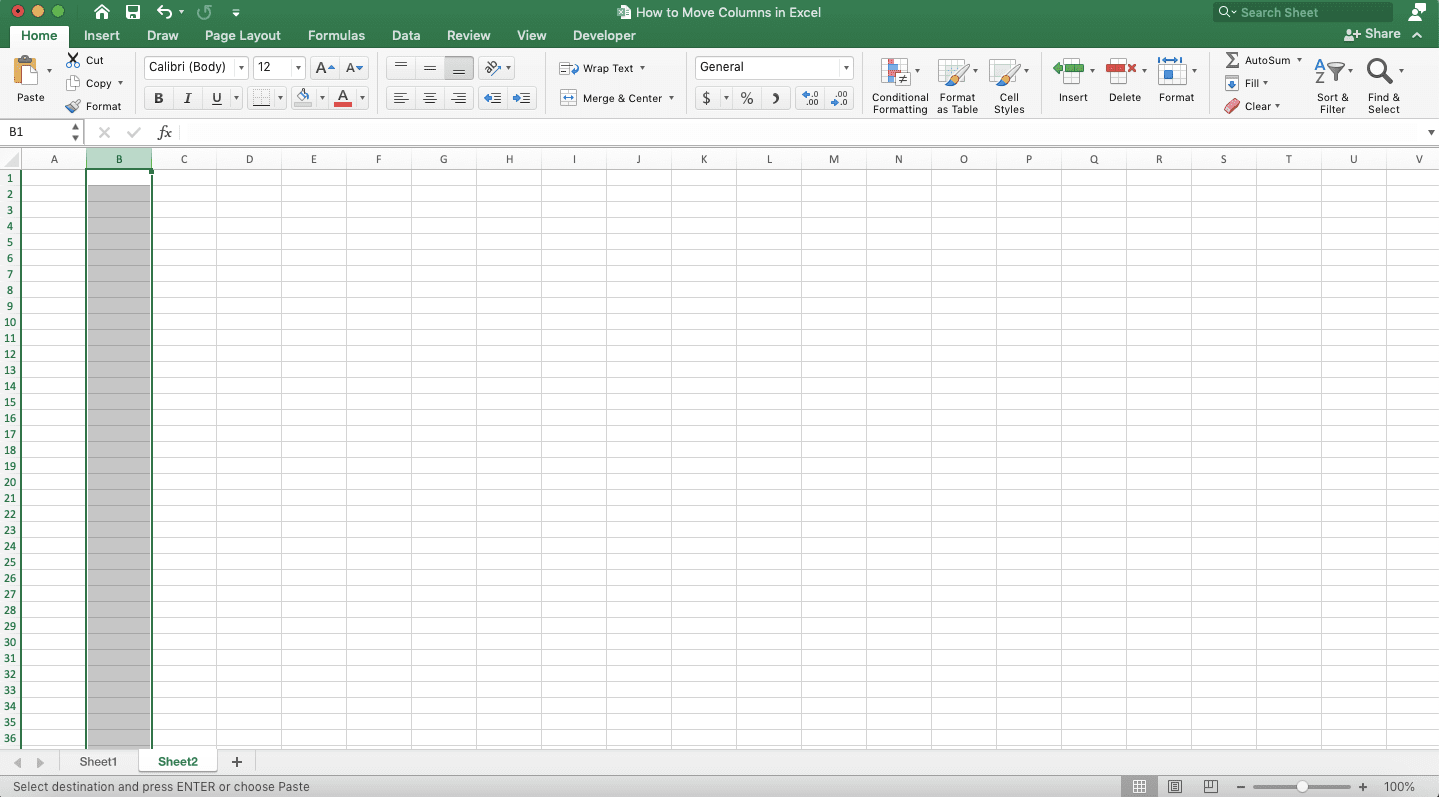
If you want to move your columns to another worksheet, you can use the cut and paste method above. Just move to the other worksheet when you determine the location where you want to put the columns.For example, let’s say we want to move these columns we highlight to Sheet2.

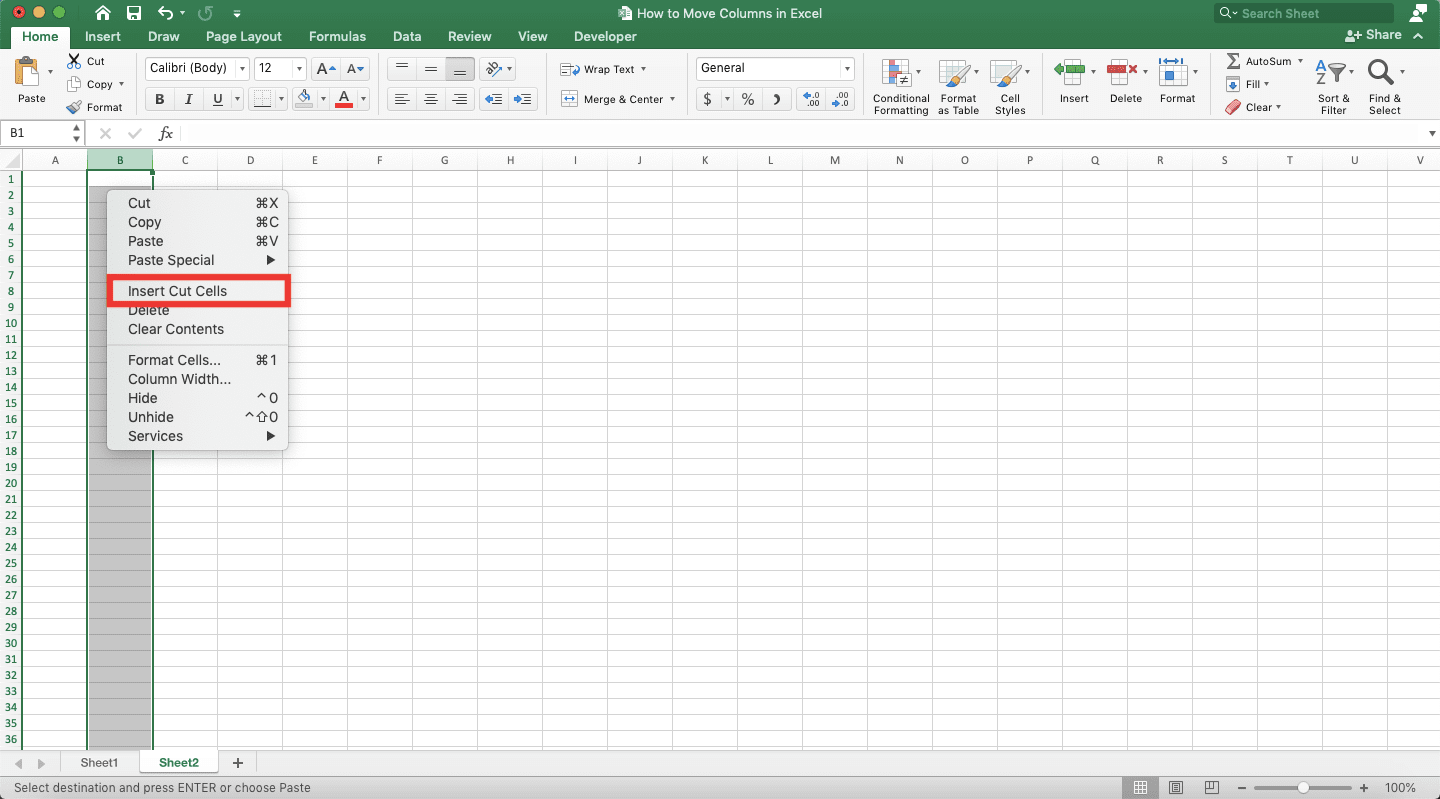
Just highlight the columns you want to move, right-click on them, and choose Cut (or press Ctrl + X (Command + X on Mac)). Then, activate the destination sheet by clicking on its sheet tab. After that, highlight the column on the right of where you want to move your columns.
Right-click on the column you highlight in the destination sheet and choose Insert Cut Cells.
Done! The columns have been moved to the destination sheet.

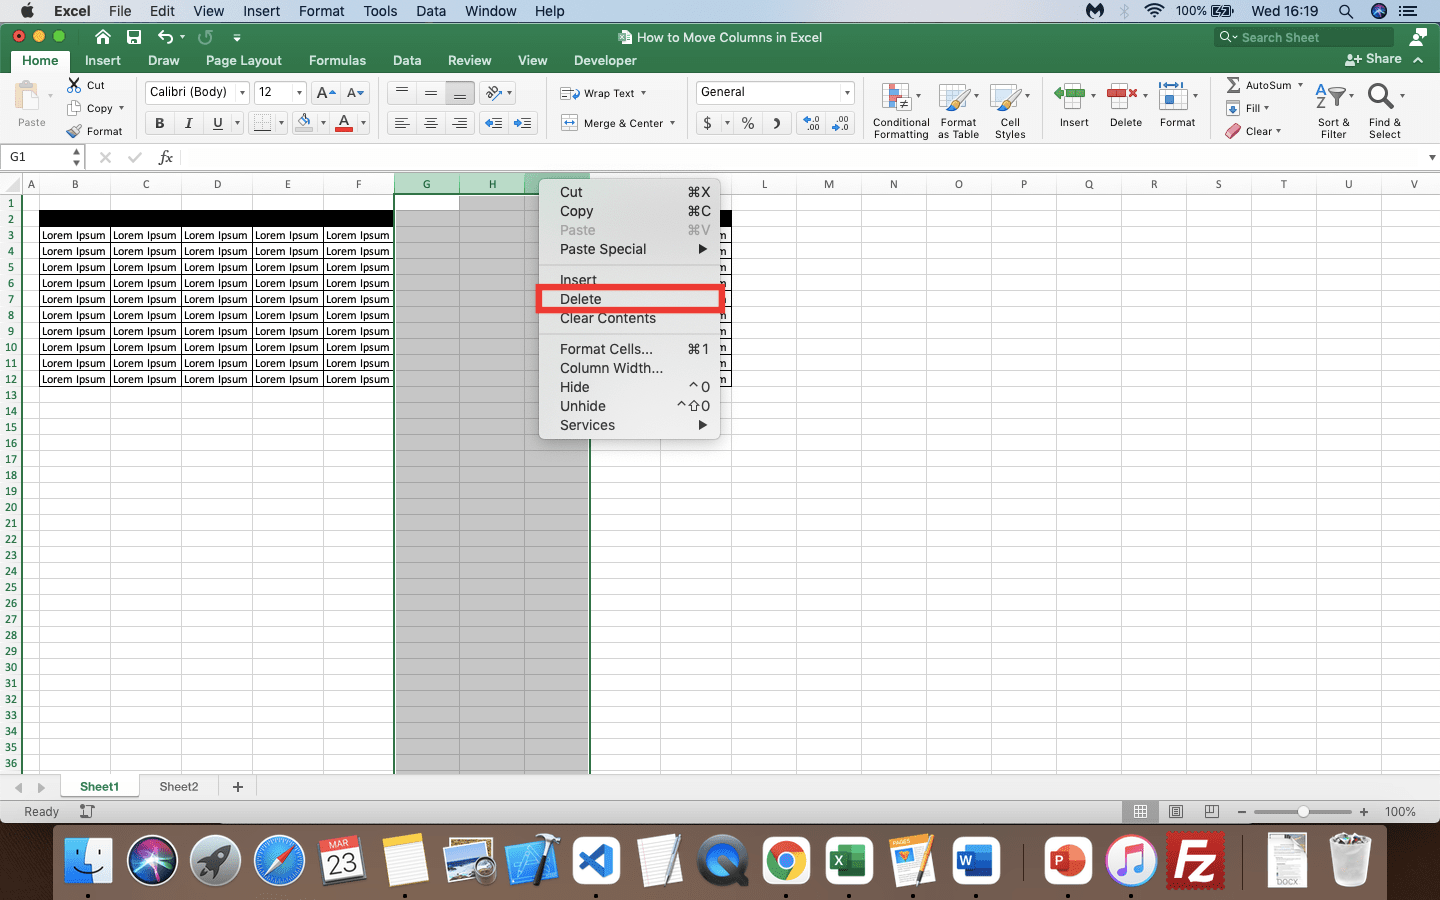
If you see the sheet where the columns are originally, there might be empty columns that replace where your columns are previously. To delete the empty columns, just highlight the empty columns, right-click on them, and choose Delete.
Now, your columns should be fully moved to another worksheet with no trace of them in the original worksheet.
How to Move Columns to Rows in Excel
You can also move columns to rows in excel by utilizing the transpose feature. Here are the detailed steps to do it.-
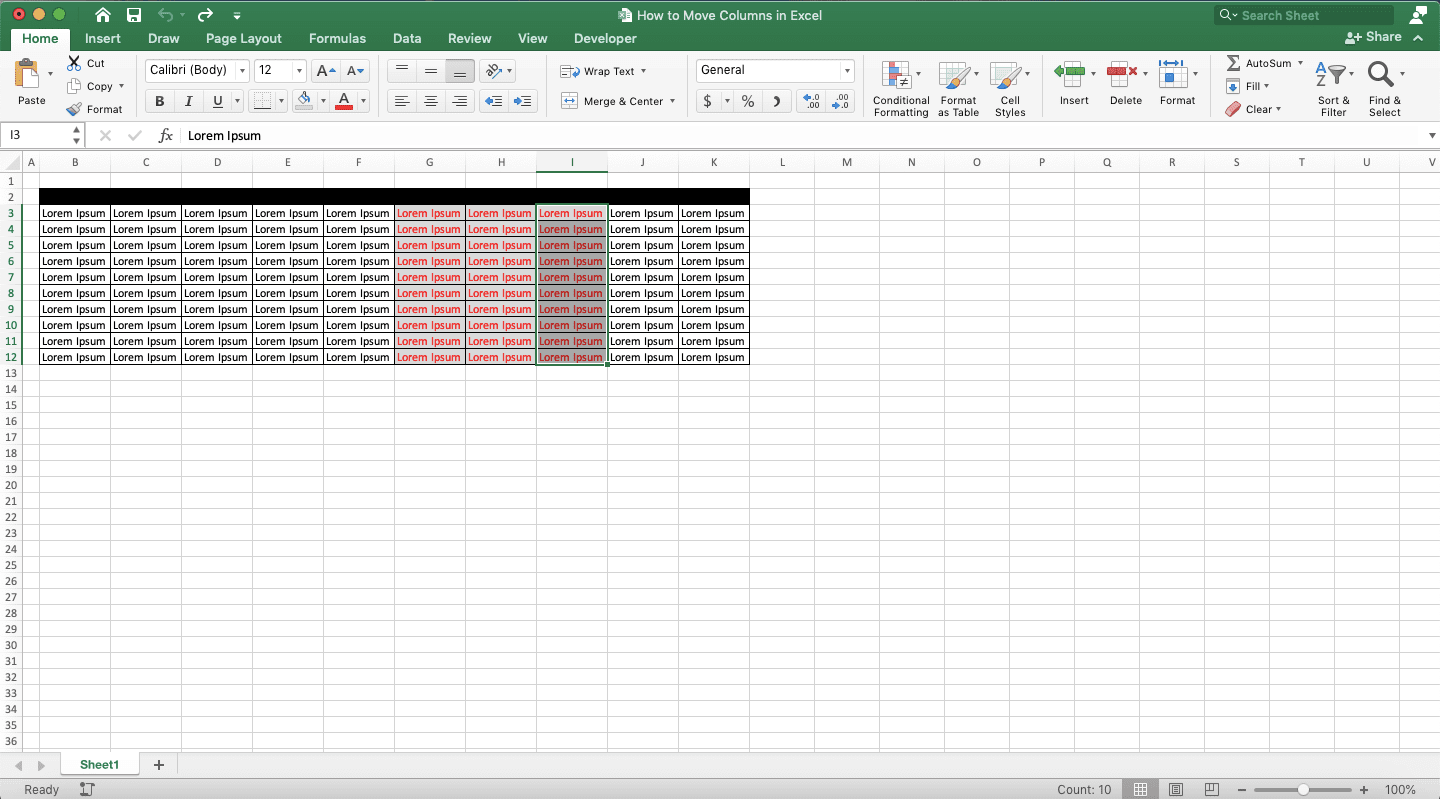
Highlight the column you want to move to rows by clicking and dragging on it
-
Right-click on the highlighted column and choose Copy (or just press Ctrl + C (Command + C on Mac) buttons)

-
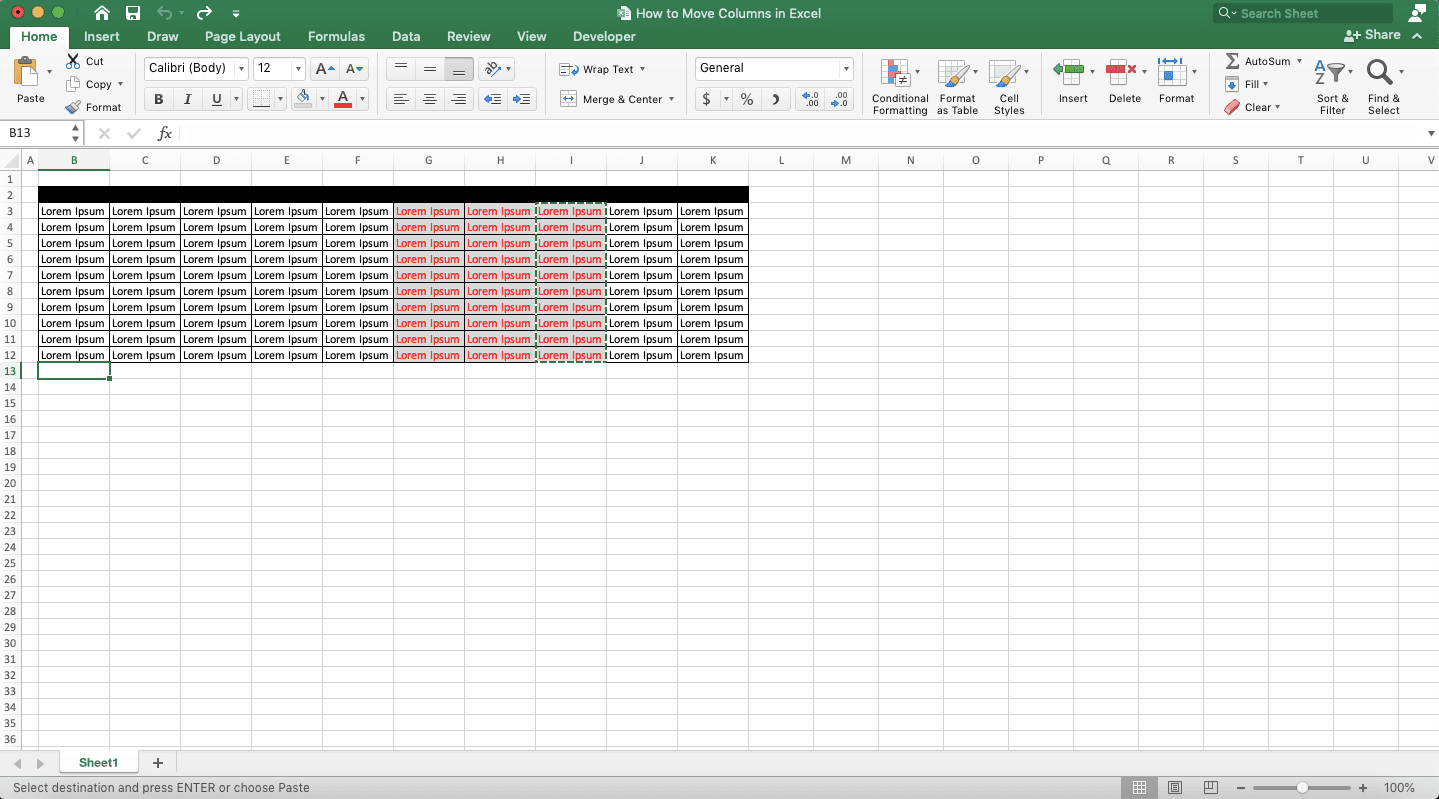
Move your cell cursor to the top-left cell of where you want to move your columns to rows. Make sure the location doesn’t overlap with the columns’ original position
-
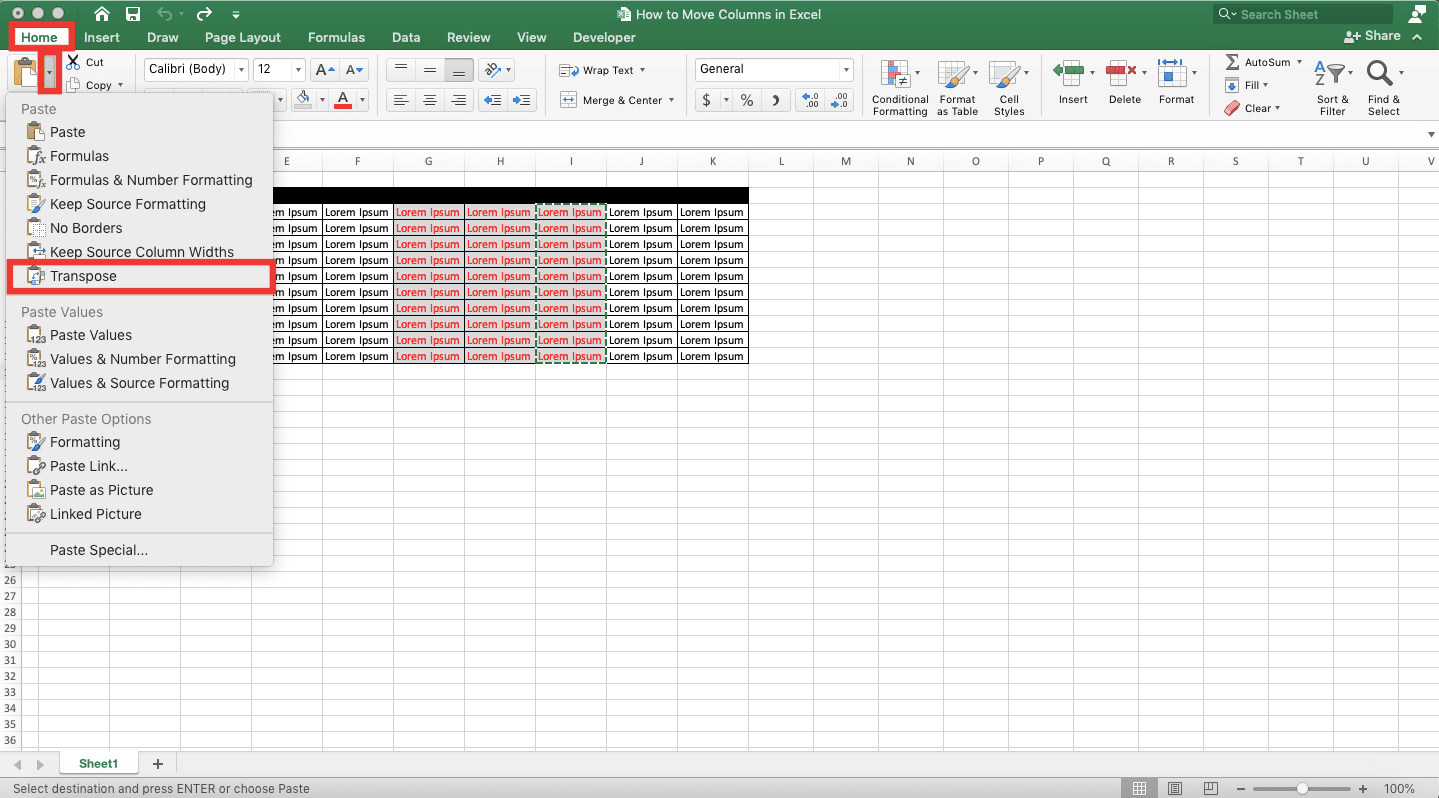
Go to the Home tab, click on the Paste dropdown button there, and choose Transpose from the dropdown list
-
Your columns have been moved as rows in the position you want
-
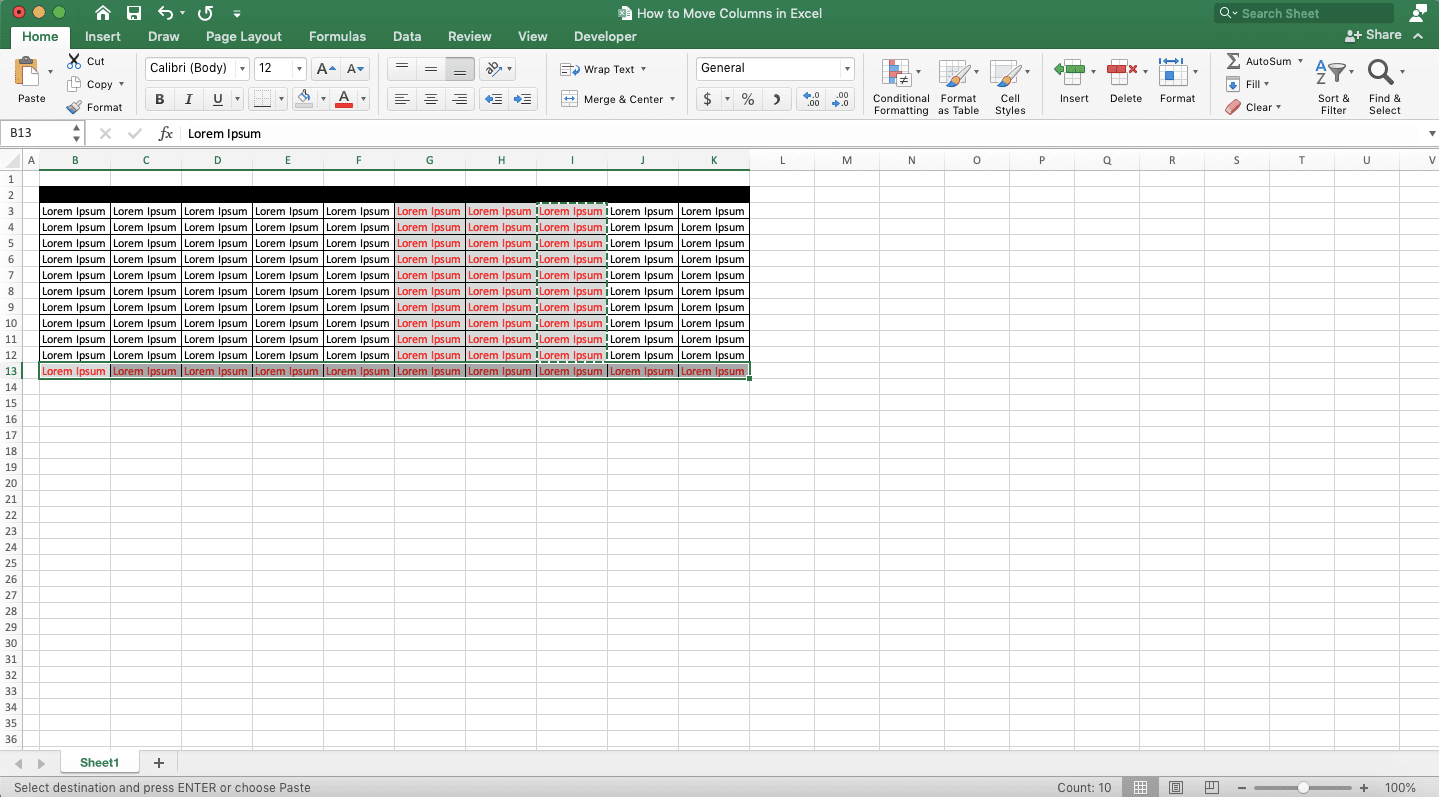
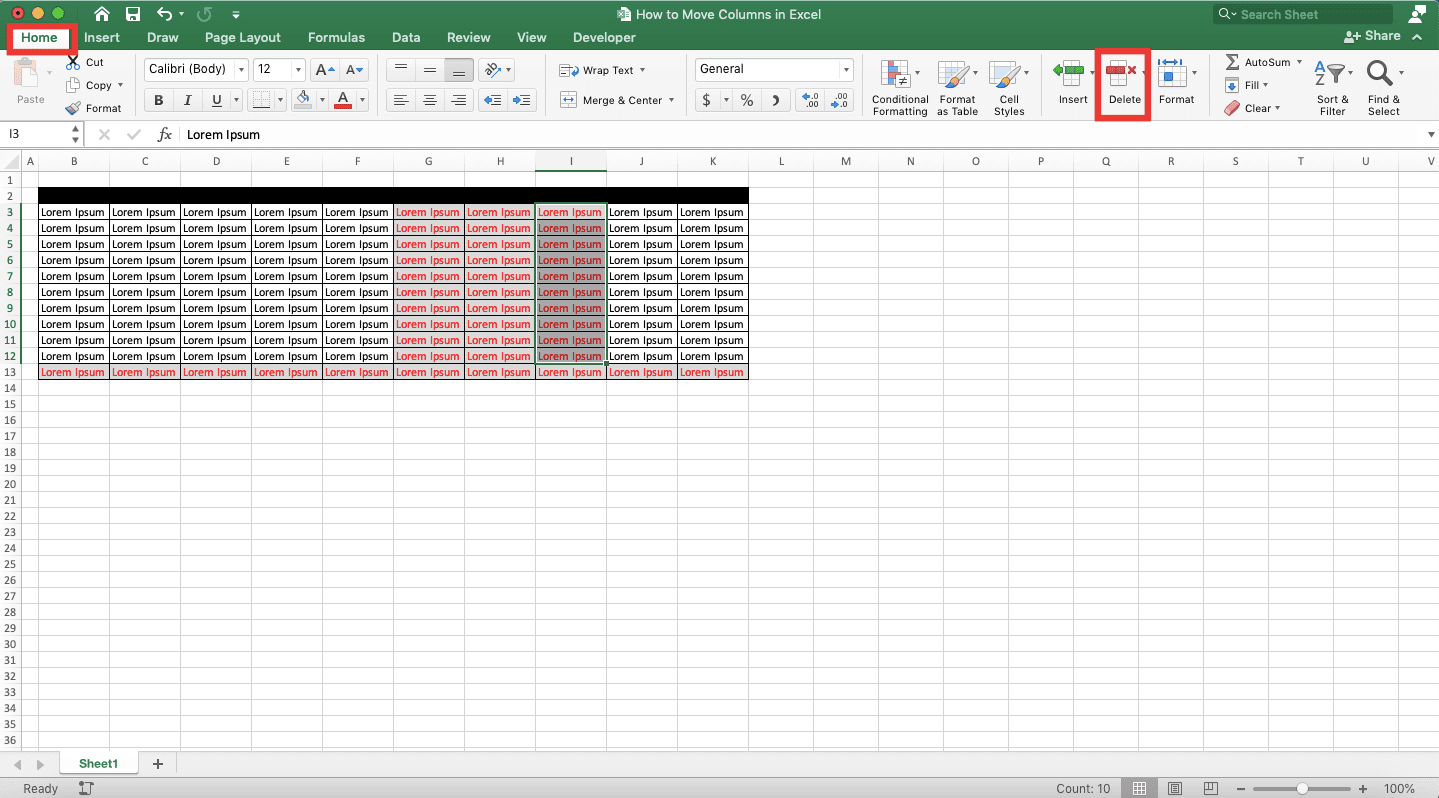
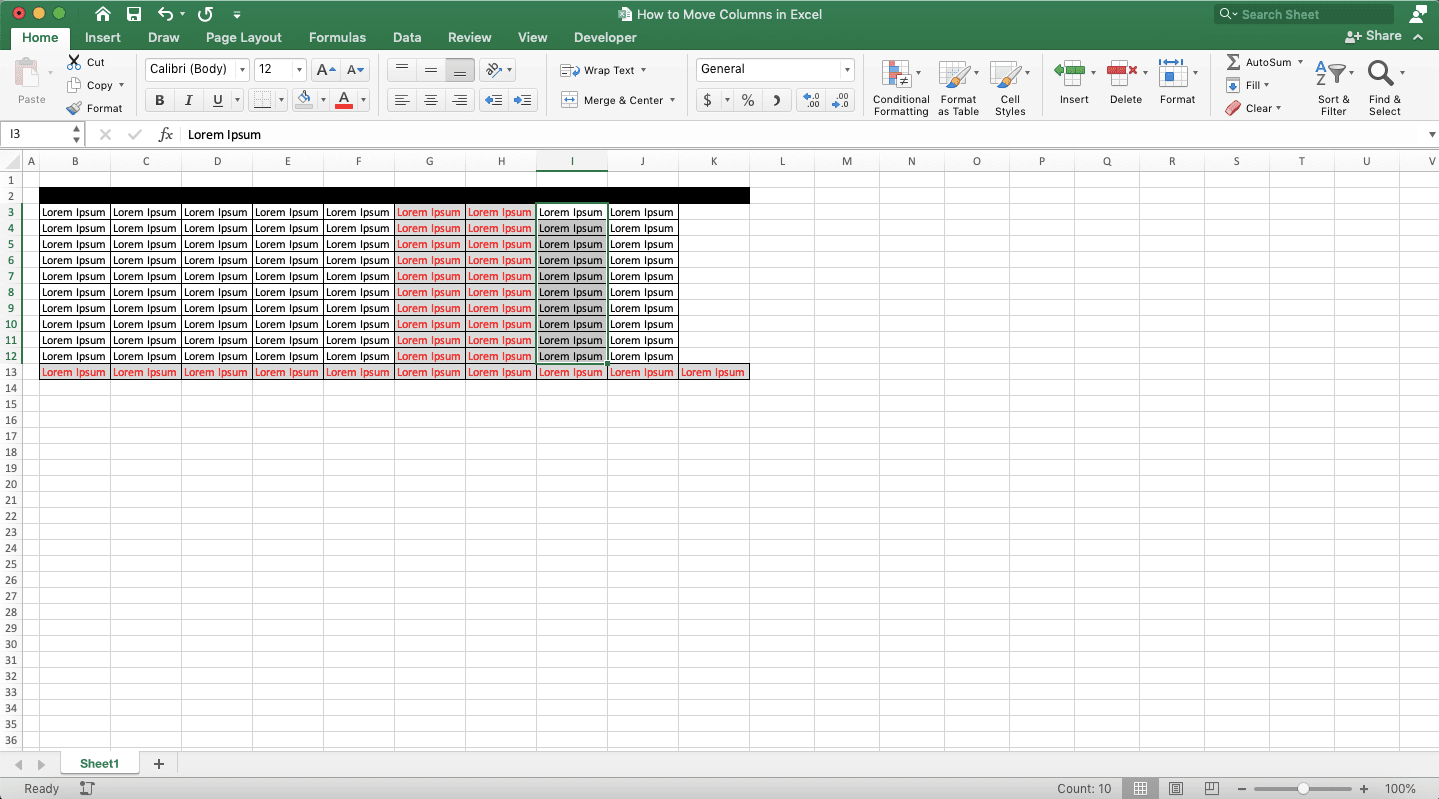
If you want to delete the original column, just highlight the column, go to the Home tab, and click the Delete button there
-
Done!
Exercise
After you have learned how to move columns in excel by using various methods, let’s do a simple exercise. This is so you can understand better the lessons from this tutorial.Open an excel file you have and try to play around with its columns. Rearrange the columns by using the methods that are taught in this tutorial. Remember not to overwrite your file though!
Can you implement all of the methods? If you can’t, go back to this tutorial content and try to learn it again!
Additional Note
If you need to move many non-adjacent columns at once, don’t forget to use the sort method. The shift button and cut & paste methods seem not able to do that for you.Related tutorials you might want to learn: