

How to Insert Rows in Excel


In this tutorial, you will learn how to insert rows in excel completely.
When working in excel, we sometimes need to insert new rows in the middle of our data table. We may need those new rows for additional data input or to help us analyze our data. If we don’t know how to insert these rows, then this can prevent us to finish our work in excel smoothly.
So, want to master the ways to insert some rows in excel? If so, then read the parts of this tutorial that you need!
Disclaimer: This post may contain affiliate links from which we earn commission from qualifying purchases/actions at no additional cost for you. Learn more
Want to work faster and easier in Excel? Install and use Excel add-ins! Read this article to know the best Excel add-ins to use according to us!
Table of Contents:
- How to insert a row in excel
- How to insert multiple adjacent rows in excel
- How to insert multiple non-adjacent rows in excel
- How to insert copied rows in excel
- How to add rows to a table in excel
- How to add sub rows in excel
- How to add a total row in excel
- The shortcuts to insert rows in excel
- Exercise
- Additional note
How to Insert a Row in Excel
The most basic row insertion thing you should master in excel is to insert one row in our data table.How to do it, you ask? Well, just follow these simple steps below.
-
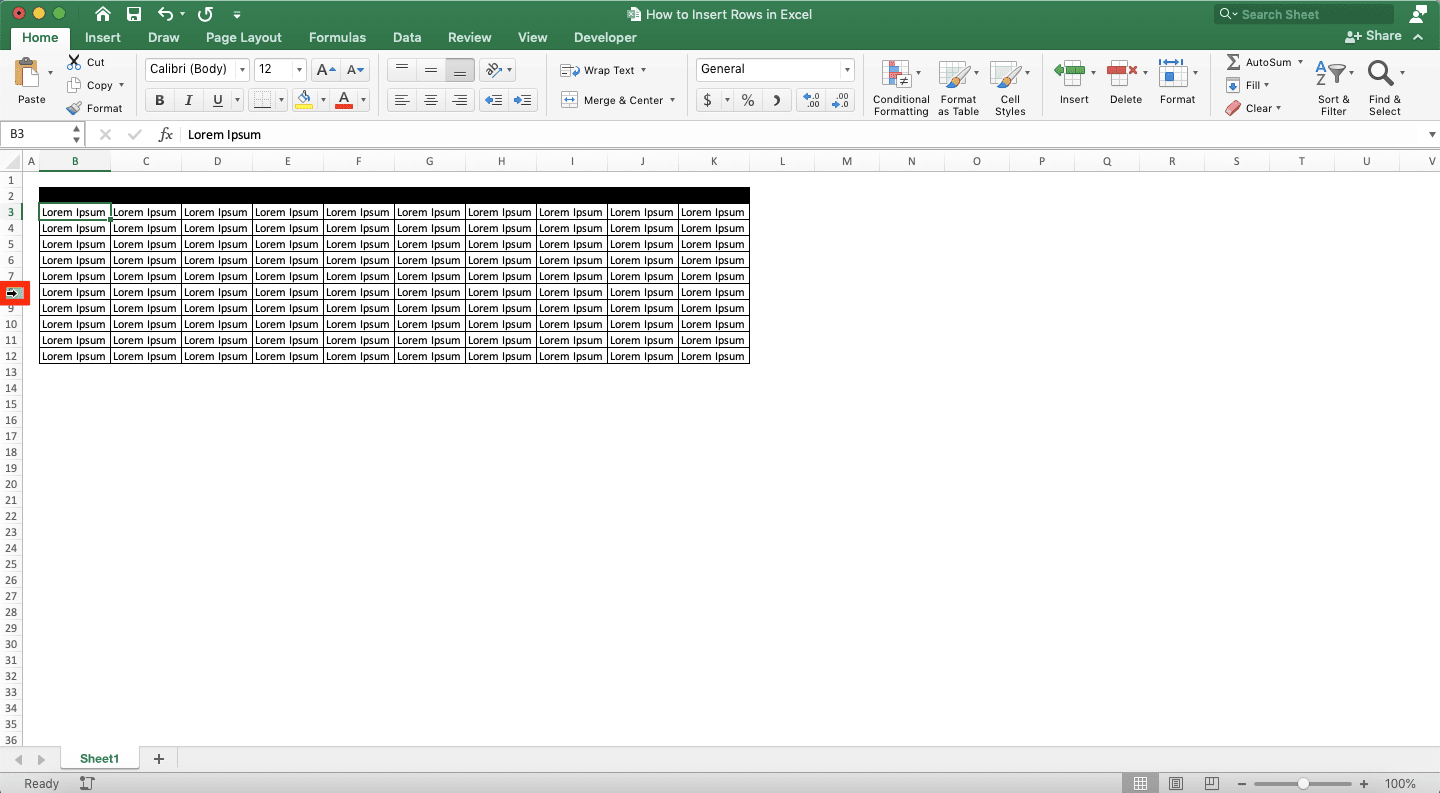
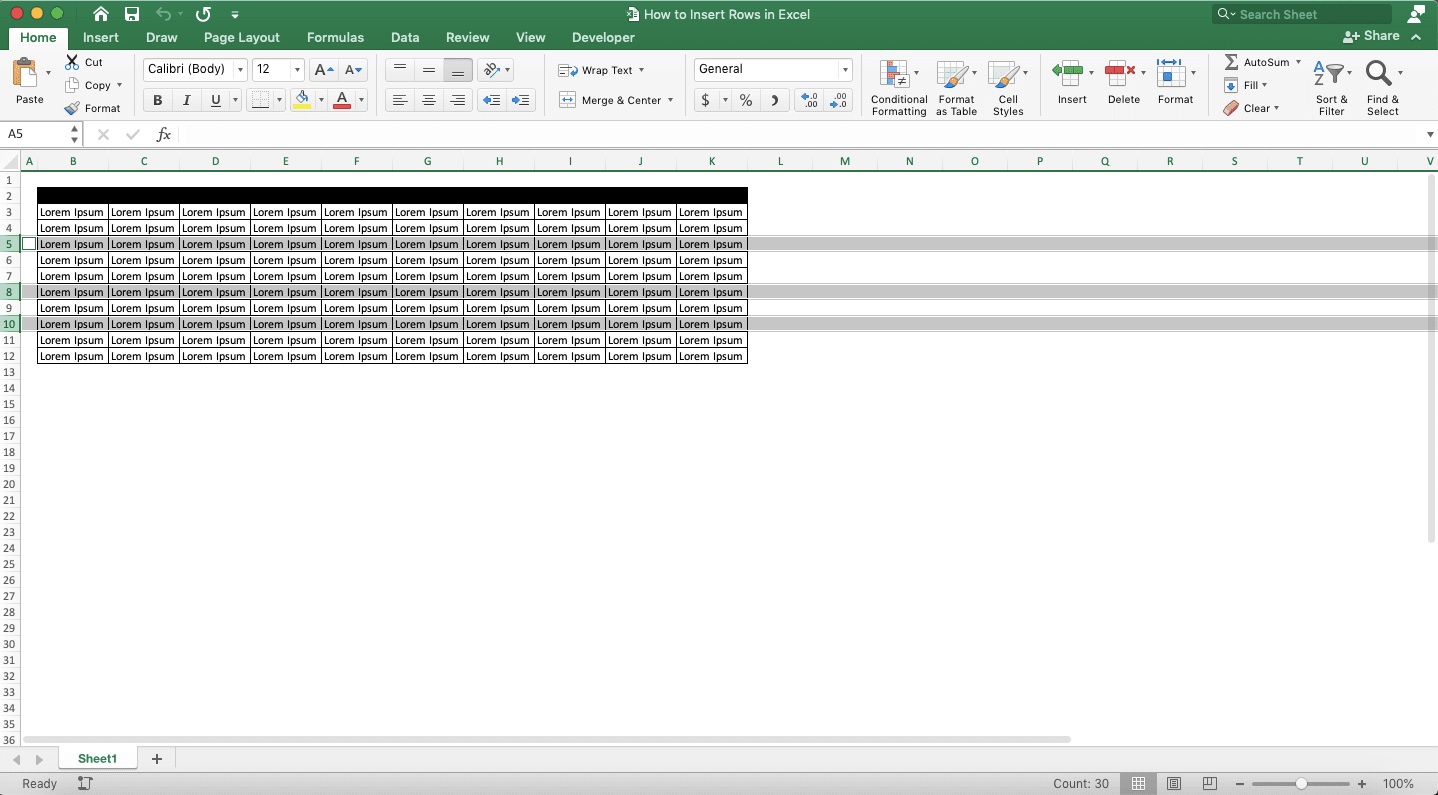
Move your pointer to the number note of the row where you want to insert your row above it. Excel row number notes are on the left side of your worksheet. Move your pointer until it becomes a right pointed arrow like below
-
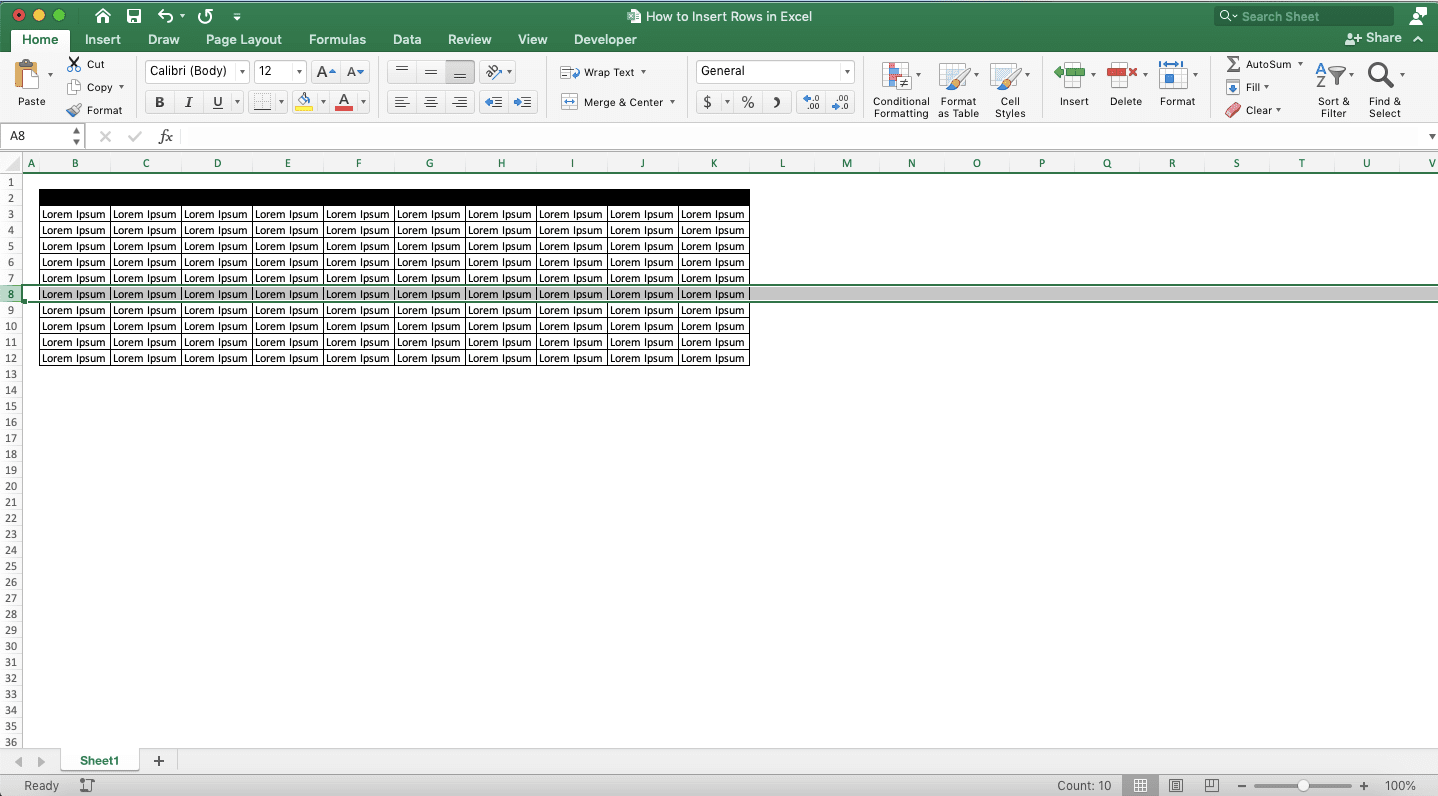
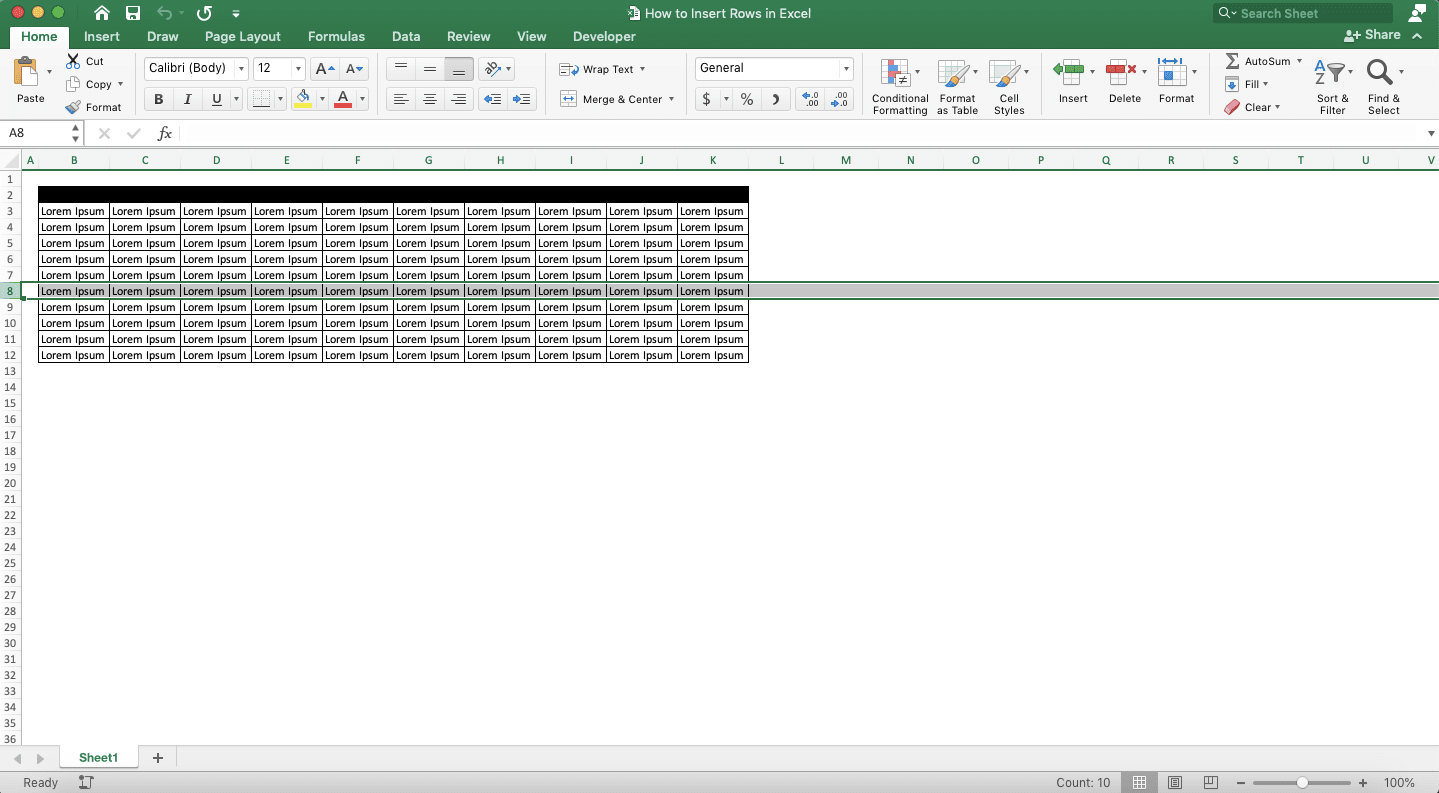
Click on the row number note. You will highlight the row which number note you click
-
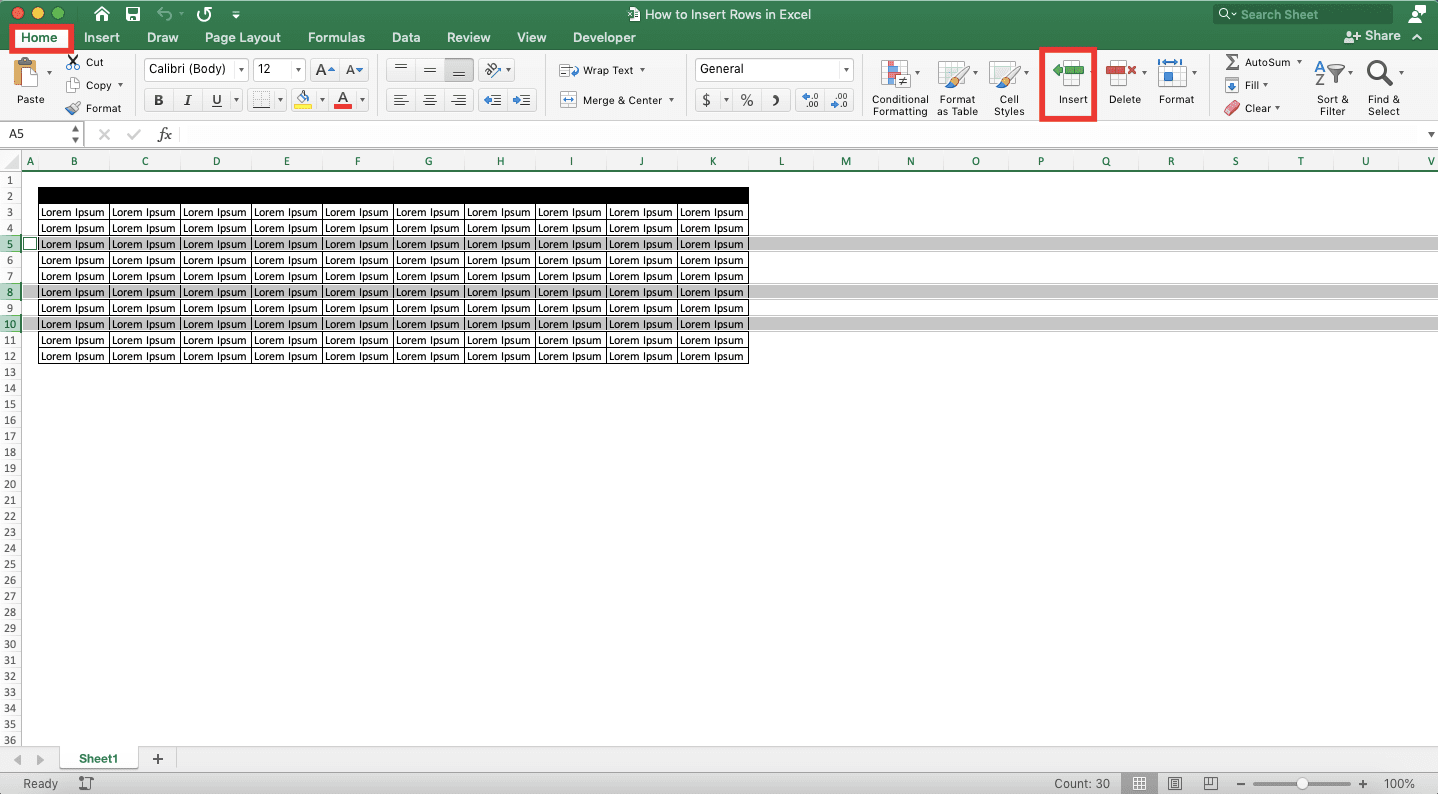
Go to the Home tab and click the Insert button. Alternatively, you can also right-click on the row you highlight and choose Insert

-
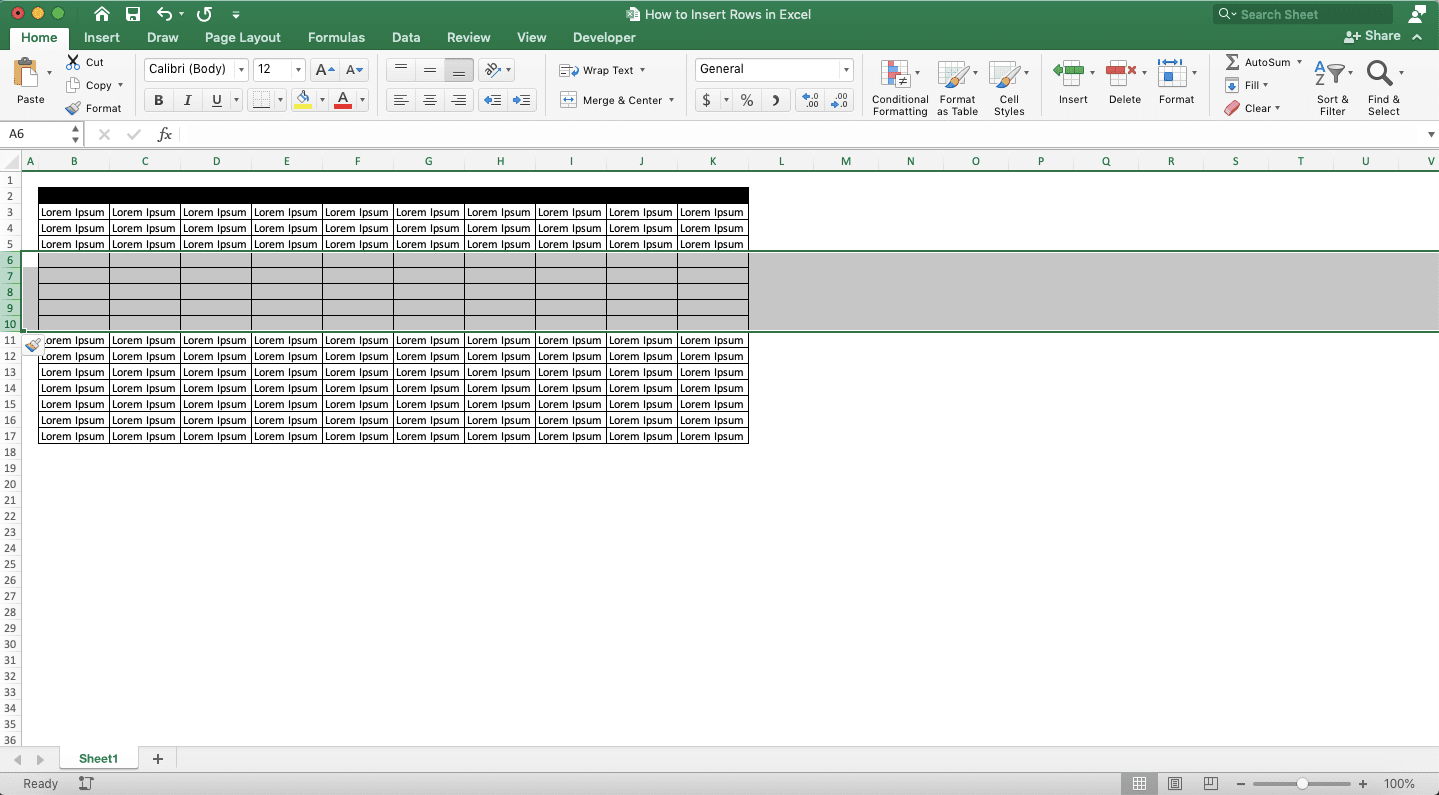
Done! You have inserted one row above the row you highlight!

How to Insert Multiple Adjacent Rows in Excel
When inserting rows in excel, you probably don’t want to just insert one row. You probably want to insert multiple rows into your data table at once.Of course, we can do something like this if we want. Generally, we can break the method to insert multiple rows in excel into inserting adjacent rows and non-adjacent rows. We will discuss the steps to insert adjacent rows first before discussing the ones to insert non-adjacent rows.
-
Move your pointer to the number note of the row where you want to insert multiple rows above it. Move it until it changes its form into a right pointed arrow like below

-
Click on the row number note and drag down until you have highlighted the number of rows you want to insert. You can also click on the row number note and then hold Shift and press the down arrow button.
You surely can also drag up/press the up arrow button. However, remember that you will insert your multiple adjacent rows above the most top row that you highlight

-
Go to the Home tab and click the Insert button. You can also right-click on the rows you highlight and choose Insert

-
Done! You have inserted your adjacent rows
How to Insert Multiple Non-Adjacent Rows in Excel
After we discuss how to insert adjacent rows in excel, we will discuss how to insert non-adjacent rows as well. There is a bit of difference in the insertion steps of these two as you will see in the following.-
Click the number note of a row below where you want to insert one of your non-adjacent rows
- Press and hold the Ctrl button on your keyboard (Command button if you use Mac)
-
Click on the number notes of other rows that are below where you want to insert your non-adjacent rows
-
Go to the Home tab and click the Insert button. You can also right-click on one of the non-adjacent rows you highlight and choose Insert
-
Done! You have inserted your non-adjacent rows

How to Insert Copied Rows in Excel
Need to copy some rows you have and insert the copied rows into a place in your data table? You can do it easily if you have mastered the three ways to insert rows in excel that we discussed previously.To start, you can highlight the rows you want to copy first. You can highlight just one row, adjacent rows, or non-adjacent rows using the methods we discussed previously.

Then, press Ctrl + C (Command + C in Mac) to mark the rows you highlight as the ones you want to copy.

Next, highlight the row below where you want to insert your copied rows. Then, go to the Home tab and click the Insert button or right-click the row and choose Insert.

Done! You have copied your rows to a place in your data table!

How to Add Rows to a Table in Excel
To insert rows into your excel table, highlight a cell/cell range below where you want to insert them. The cell range you highlight should have the same number of rows as the rows you want to insert.
Then, just right-click the cell/cell range you highlight, highlight Insert, and choose Table Rows Above.

You have just inserted the rows you want in your excel table!

How to Add Sub Rows in Excel
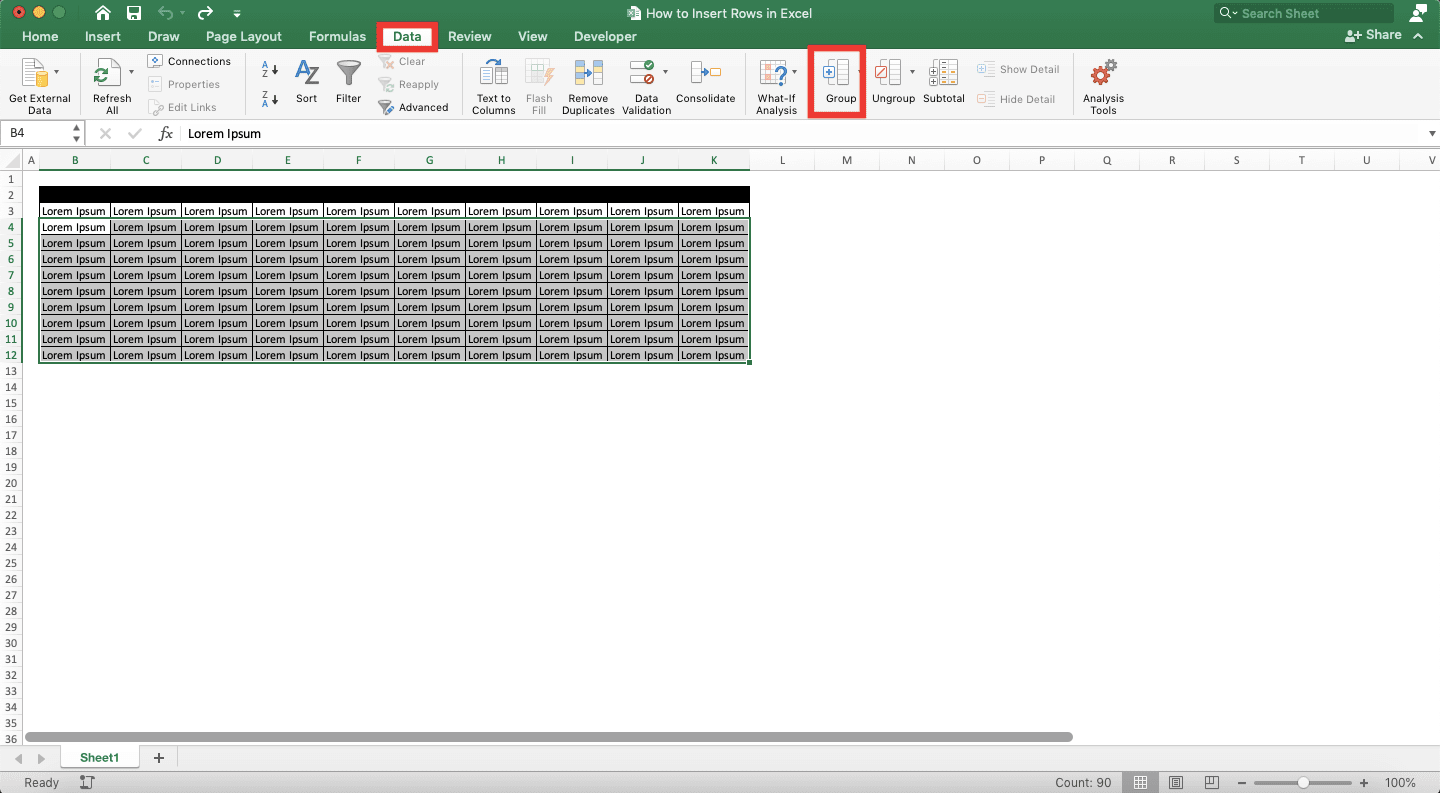
To add sub rows in excel, you can utilize the group feature that excel has. The rows that you group together will look like the sub rows of the row above/below them.So, how to utilize the excel group feature to make the sub rows? First, highlight the cell range that contains the cells of the rows you want to make sub rows from. Then, go to the Data tab and click the Group button there.
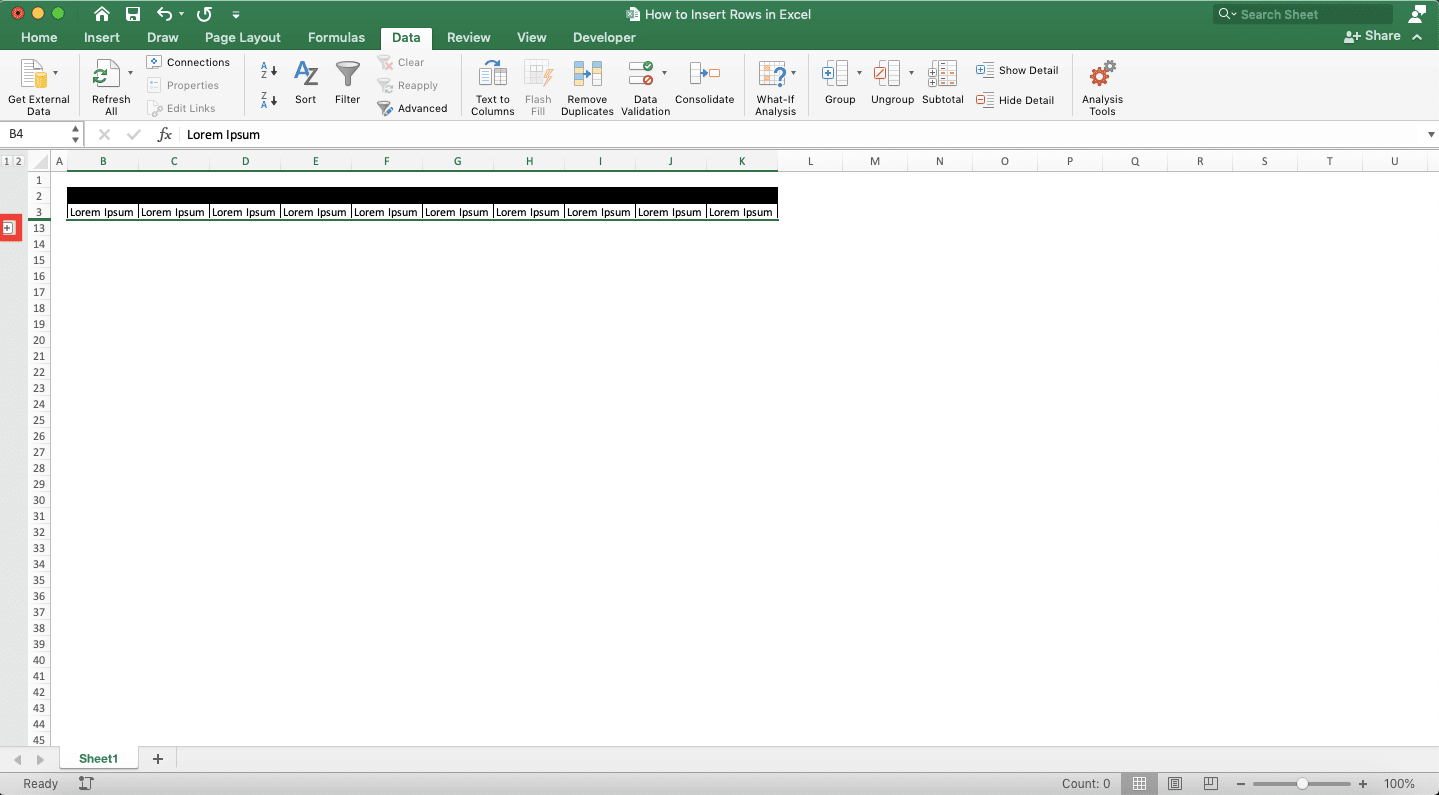
Select Rows and then click OK if there is a dialog box that shows up

You have made the rows of the cells you highlight to look like sub rows of the row above/below them. You can uncollapse/collapse the rows by clicking the minus/plus symbol on the left of your worksheet.

If you need to add sub rows inside the sub rows, just highlight the cells inside the sub rows first. Then, click the Group button again in the Data tab.
How to Add a Total Row in Excel
Need to make a total row to sum the numbers in your columns? You can do that easily if your data table is in the form of an excel table. If you don’t know how to convert your data table into an excel table, you can refer to this guide.Once you have your excel table, place your cell cursor in it. Then, go to the Table tab and check its Total Row check box by clicking on it if it is empty.

Doing that will make you automatically add a total row at the end of your table!

The Shortcuts to Insert Rows in Excel
Want to add rows in your data table in excel but you just want to use your keyboard buttons?If you want to do it like that, then use shortcuts to select your rows and insert the new ones. The shortcut to select the rows of the cells you currently highlight is Shift + Space Bar. Meanwhile, the shortcut to insert new rows is Ctrl + Shift + + (Command + Shift + + in Mac).
Just follow the steps to insert rows we have discussed before but use those buttons above instead of a mouse. You will be able to insert the rows you want that way!
Exercise
After understanding how to insert rows in excel completely, now is the time to practice what you have learned. Open one excel file and try to practice various ways to insert rows that are in this tutorial. How is the result? Can you do it?Additional Note
The cell format in the new rows you insert will follow the cell format of the rows above it.Related tutorials you should learn: