

Using F4 Excel Shortcuts


In this tutorial, you will learn completely about the F4 button functions in excel. The F4 button has some usabilities that can help you when inputting and processing data in excel.
Probably one of the most popular functions of the F4 is toggling the absolute/relative nature of your cell coordinate reference. However, the usefulness of this button in excel is not just limited to that. To summarize its usefulness, here is a list of the things you can do in excel using the F4 button:
- Toggle the absolute/relative nature of a cell coordinate reference in your formula writing
- Repeat the last activity you do in excel
- Find the data you last input in the Find & Replace dialog box
- Close an excel workbook/program
Thus, besides obviously learning about the F4 use to toggle absolute/relative references, we will also learn its other functions.
(Note: It is important to know that the F4 functions explained here are for the excel programs in Windows computers. If you use Mac, then the F4 button doesn’t do much in your excel program.
However, if you want to use the same functions explained here in Mac, don’t worry. We will also give ways to access these functions in Mac using other shortcuts (not involving the F4 button))
Disclaimer: This post may contain affiliate links from which we earn commission from qualifying purchases/actions at no additional cost for you. Learn more
Want to work faster and easier in Excel? Install and use Excel add-ins! Read this article to know the best Excel add-ins to use according to us!
Table of Contents:
- Function 1: Toggle the absolute/relative nature of a cell coordinate reference in a formula
(the function explanation and how to utilize it) - Function 2: Repeat the last activity
(the function explanation and how to utilize it) - Function 3: Find the data you last input in the find and replace dialog box
(the function explanation and how to utilize it) - Function 4: Close a workbook/excel program
(the function explanation and how to utilize it) - Exercise
- Additional note
Function 1: Toggle the Absolute/Relative Nature of a Cell Coordinate Reference in a Formula
Windows Shortcut: F4 (When you highlight the cell coordinate reference in your formula)
Mac Shortcut: Command + T (when you highlight the cell coordinate reference in your formula)
The most popular F4 function in excel might be toggling the absolute/relative nature of a cell coordinate reference.
If you want to utilize this function, then you must highlight the cell coordinate reference you want to toggle first. After that, press F4 at the frequency that you need.
The frequencies of your F4 button pressing will determine which absolute/relative nature you use for your cell reference. For example, if your current cell reference is like this:
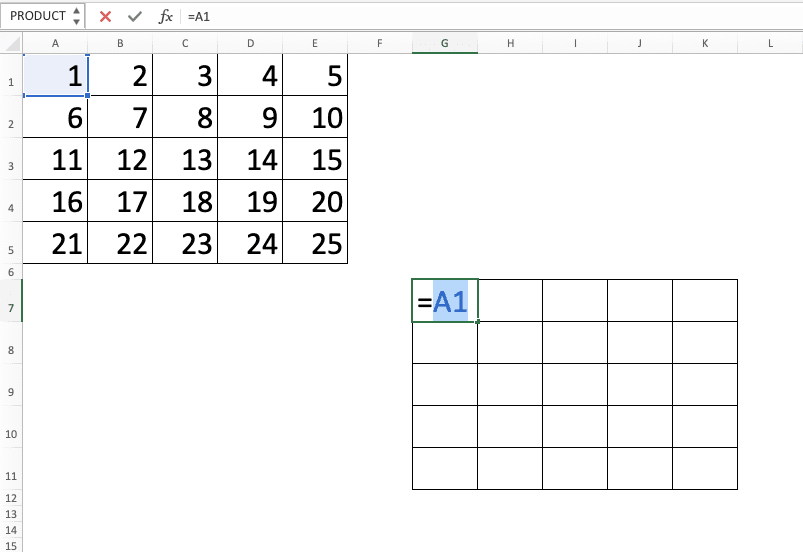
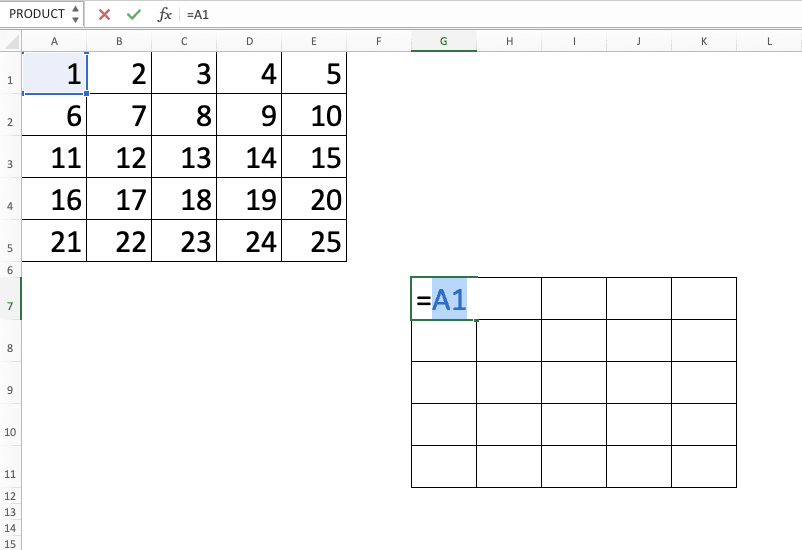
=A1
By the way, this is the standard form of a cell reference. It also represents the relative nature of your column letter and row number. If you copy your formula to other cells, then this cell reference will move along with your copy direction.
If you press F4 once when highlighting the cell reference with this form, then it will be changed to this form.
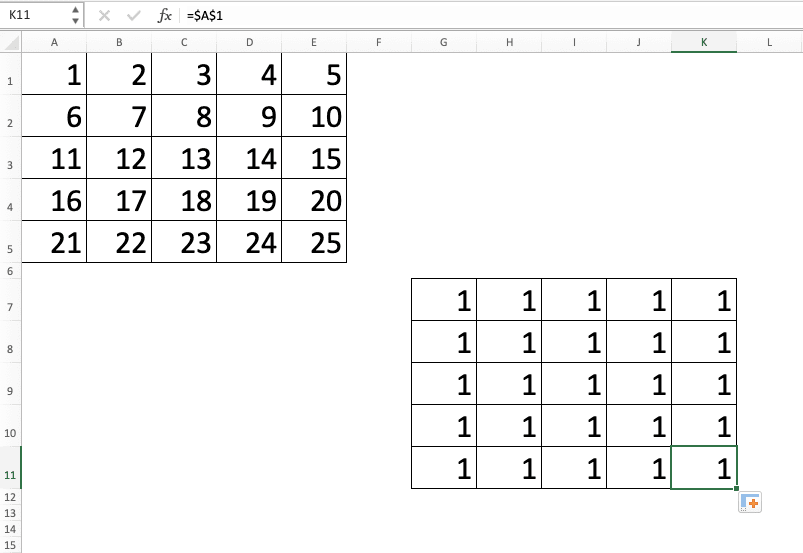
=$A$1
The dollar signs ($) there is the symbol of the absolute nature of the column letter or row number on their right. This absolute nature means the column letter/row number won’t move along if the formula is copied to other cells.
If the cell reference form in your formula looks like $A$1, it means its column and row won’t move (will still refer to A1 wherever you copy the formula).
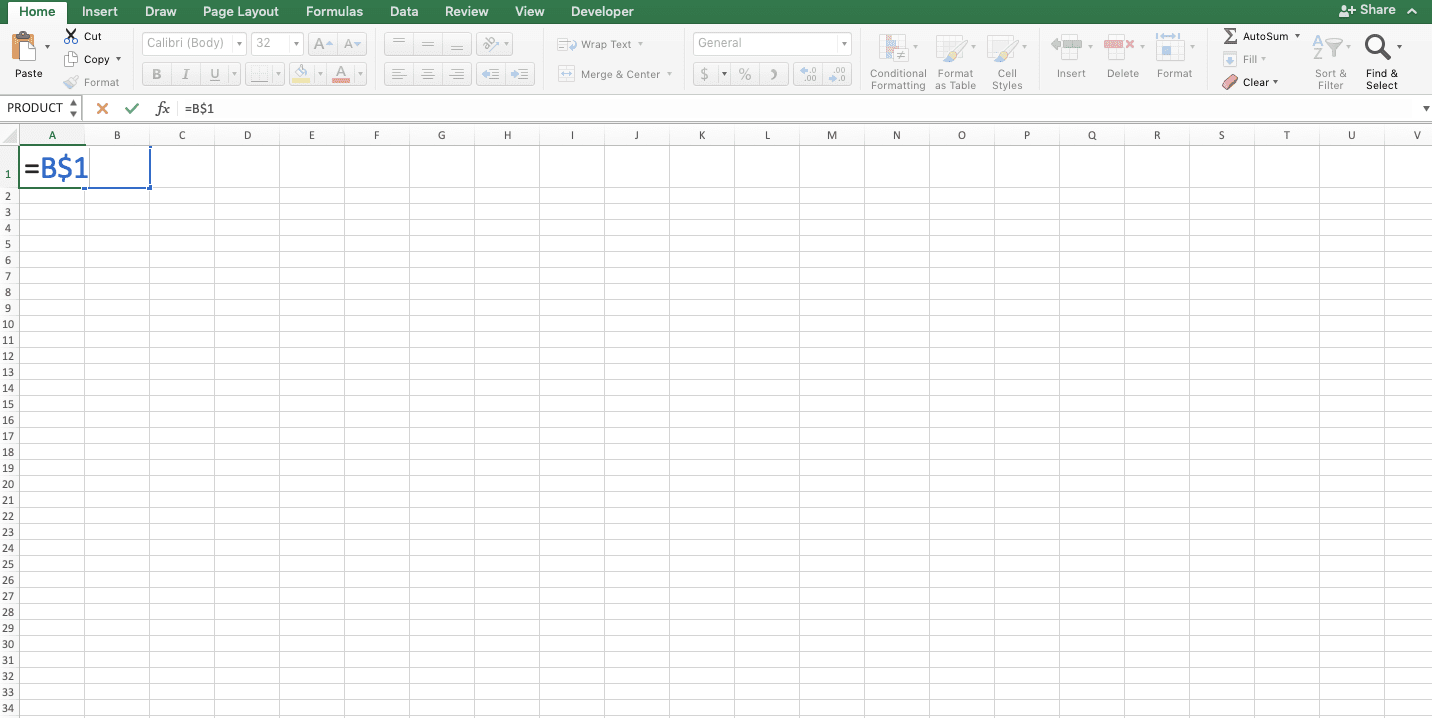
If you press the F4 button once again after this $A$1 form, then it will be changed to:
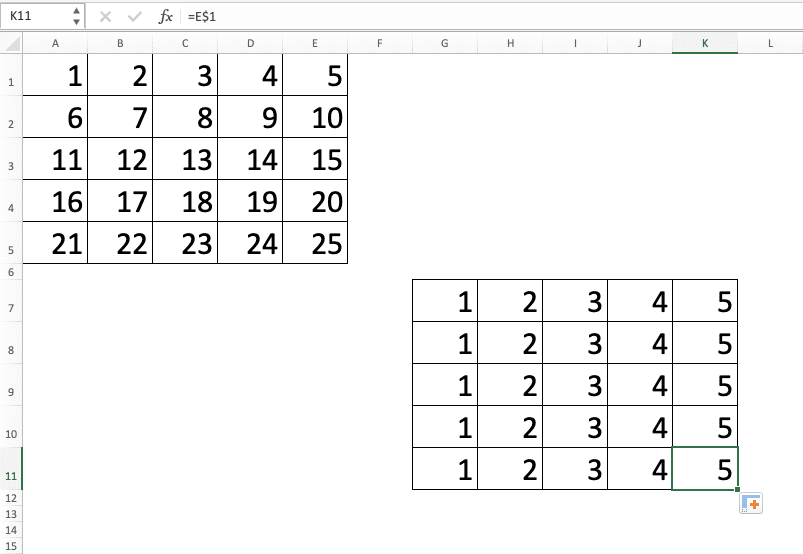
=A$1
The reference with this form means only the row number is absolute (because the $ sign is only in front of the row number). The column will become relative and move if you copy the formula.
If you press F4 once again after the reference looks like this, then it will be changed to:
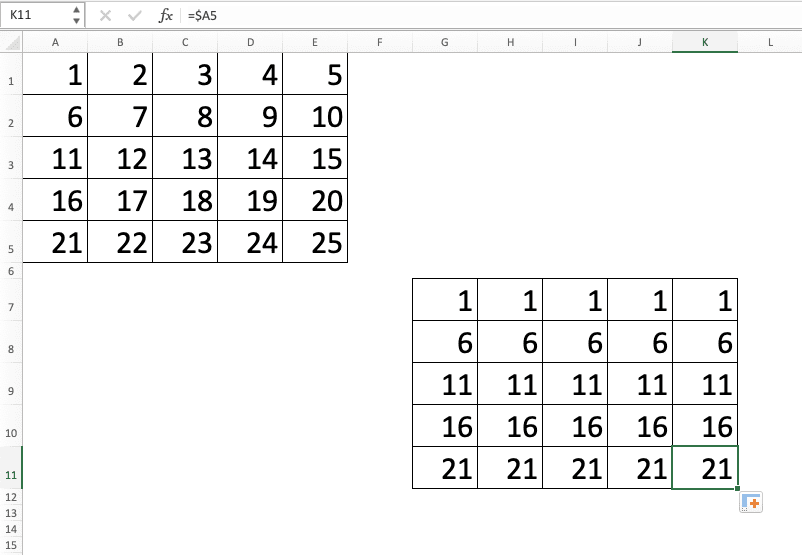
=$A1
This form means only the column now is absolute while the row is relative (the $ sign is only in front of the column letter).
If you press the F4 again after this, then your cell reference will return to its original form.
=A1
Press F4 again after that will repeat the absolute/relative nature cycle on your cell coordinate reference.
That is the explanation about the F4 impact on the absolute/relative nature of your cell coordinate reference. To understand how to use the F4 button for this function clearer, here are the detailed steps.
-
Highlight or place your cursor in the cell coordinate reference you want to toggle the absolute/relative nature in your formula
-
Press the F4 button (Command + T on Mac) to toggle the absolute/relative nature of your cell coordinate reference. Assuming your cell is in its standard form currently (without any $ sign in it), press once to make your row and column absolute (putting $ signs in front of the row number and column letter)

Press twice to make your row becomes absolute and your column becomes relative (putting a $ sign in front of the row letter)

Press three times to make your row becomes relative and your column becomes absolute (putting a $ sign in front of the column letter)

Press four times to make your row and column becomes relative again (pressing the F4 button again after this will make your row and column into absolute again and so on)
- Press Enter if the absolute/relative nature of your row and column has fit your preference
-
Copy your formula to see the result!
Copy result with no $ sign in front of the column letter or row number

Copy result with $ signs in front of the column letter and row number
Copy result with a $ sign in front of the row number
Copy result with a $ sign in front of the column letter
Function 2: Repeat the Last Activity
Windows Shortcut: F4 (or Ctrl + Y)
Mac Shortcut: Command + Y
The second function of the F4 button in excel is to redo our last activity. The kinds of activity that can be repeated here are formatting, insert or delete row or column, and shapes changes.
The use of this function is pretty easy. Make sure your last activity is the one you want to repeat. Then, press the F4 button on the place where you want to repeat the activity.
In a detailed step-by-step of this F4 function use, here is the explanation.
-
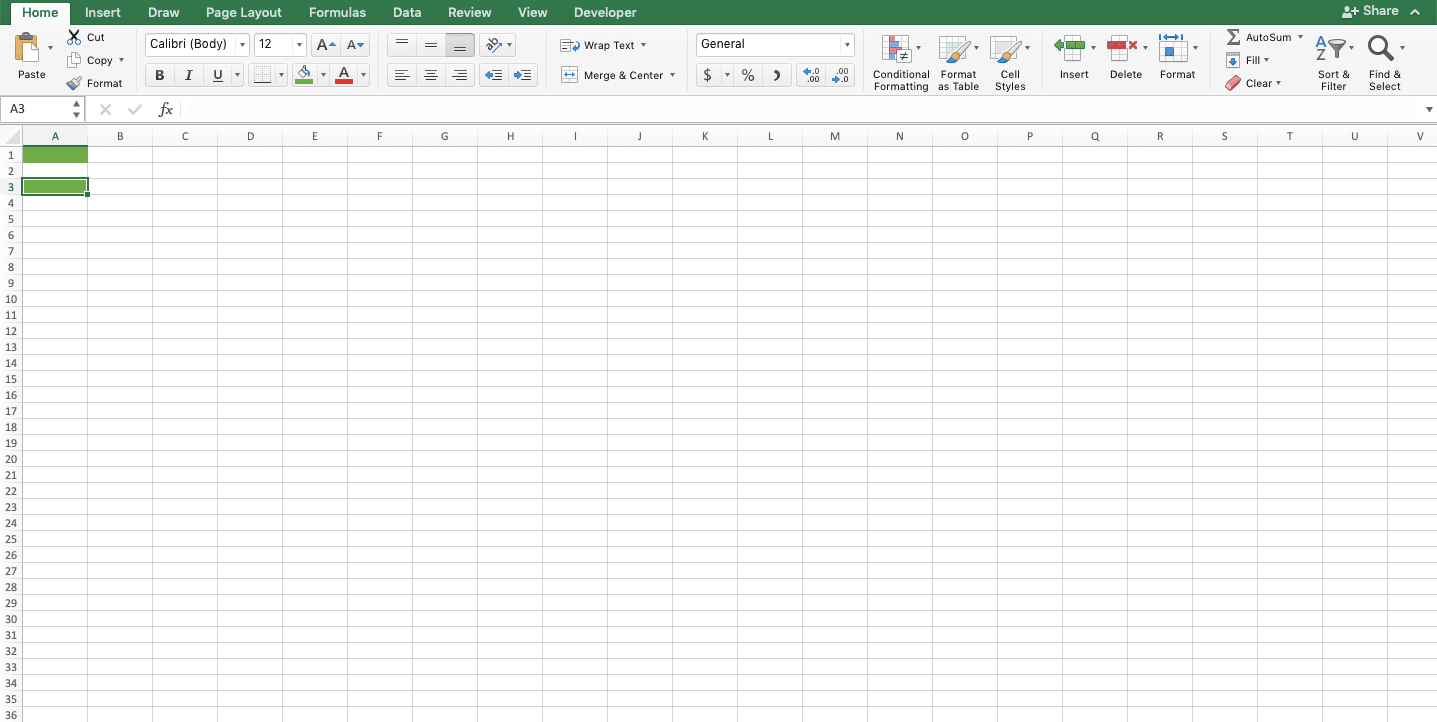
Highlight the place where you want to repeat your last activity
- Press F4 (Command + Y on Mac)
-
Done!
Function 3: Finding the Data You Last Input in the Find & Replace Dialog Box
Windows Shortcut: Shift + F4 for the next finding or Ctrl + Shift + F4 for the previous finding
Mac Shortcut: Command + G for the next finding or Command + Shift + G for the previous finding
The third function that can be done by pressing the F4 button in excel is data finding. By inputting the data first in your Find & Replace dialog box, we can search the data without using the dialog box. Just press Shift + F4 or Ctrl + Shift + F4 then the data location finding will be done by excel.
The detailed steps to use this function are as follows:
-
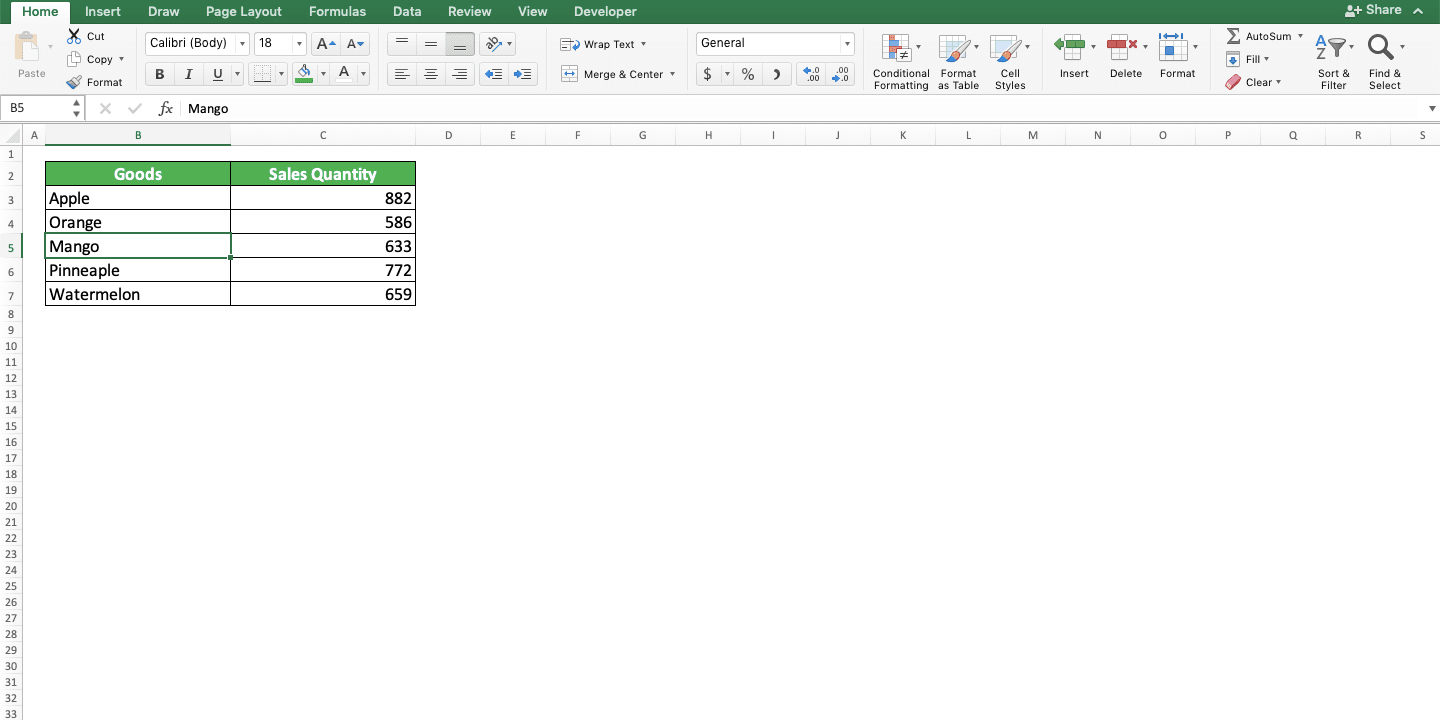
Make sure you have inputted the data you want to find in the Find or Find & Replace dialog box
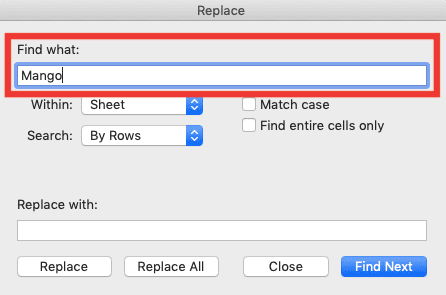
-
To look for the data, press the Shift + F4 buttons (Command + G on Mac) (the search will begin in the parts after the location where your cell cursor is in now) or Ctrl + Shift + F4 (Command + Shift + G on Mac) (the search will begin in the parts before the location where your cell cursor is now)

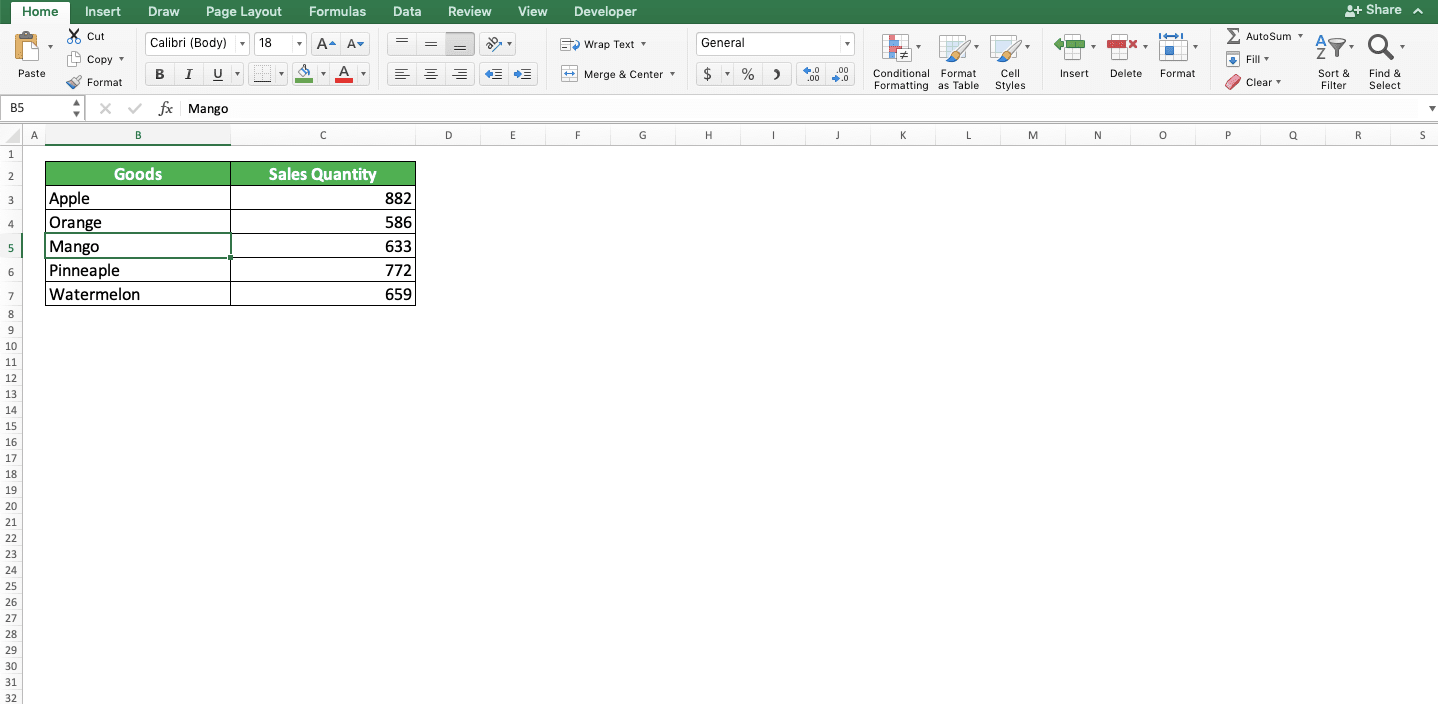
-
Done! If the data is in your sheet, then your cell cursor will immediately highlight the location of the data. To find other location of the data, if there are any, press the shortcut buttons again.
Function 4: Close Workbook/Excel Program

Windows Shortcut: Ctrl + F4 (or Ctrl + W) to close the workbook and Alt + F4 to close the excel program
Mac Shortcut: Command + W to close the workbook and Command + Q to close the excel program
The last function that can be done using the F4 is closing a workbook file or an excel program. If you want a fast way to close them without using your mouse/trackpad, then this function is the right solution.
You just need to press Ctrl + F4 to close your workbook or Alt + F4 to close your excel program. Press the buttons when you are in the workbook file or excel program that you want to close.
The detailed steps to use this F4 function are as follows:
- Press the Ctrl + F4 buttons (Command + W on Mac) to close your workbook or Alt + F4 (Command + Q on Mac) to close your excel program
-
If you haven’t saved the changes in your workbook, there will be a dialog box shown up. Click Save if you want to save the changes or click Don’t Save if you don’t want to save it

Exercise
After learning the F4 functions in excel, now is the time to practice and deepen your understanding through this exercise.Download the exercise file below and do all the instructions. Download the answer key file if you have done the exercise and want to check your answers!
Link to the exercise file:
Download here
Instruction:
Make sure you can use the IF formula before you do this exercise! If you can’t, then you can learn about the IF formula from our tutorial here!Use the F4 functions in excel to help you finish this exercise!
Sheet 1
- Compare each number in cells A4 to E8 with the standard number in A1! How many are more than or equal to and how many are less than the standard number? In I4 to M8, give the comparison result for each cell. Give “OK” if more than or equal to and “X” if less than in the parallel location of each cell! Then, input how many “OK” are there in S4!
- Do the same thing with the standard numbers in A3 to E3 cells. Compare each value in A4 to E8 cells with their columns’ standard numbers! How many “OK” are there? Count the “OK” and input your count result in S5!
- Do the same thing with the standard numbers in F4 to F8. Compare each value in A4 to E8 with their rows’ standard numbers! How many “OK” are there? Count the “OK” and input your count result in S6!
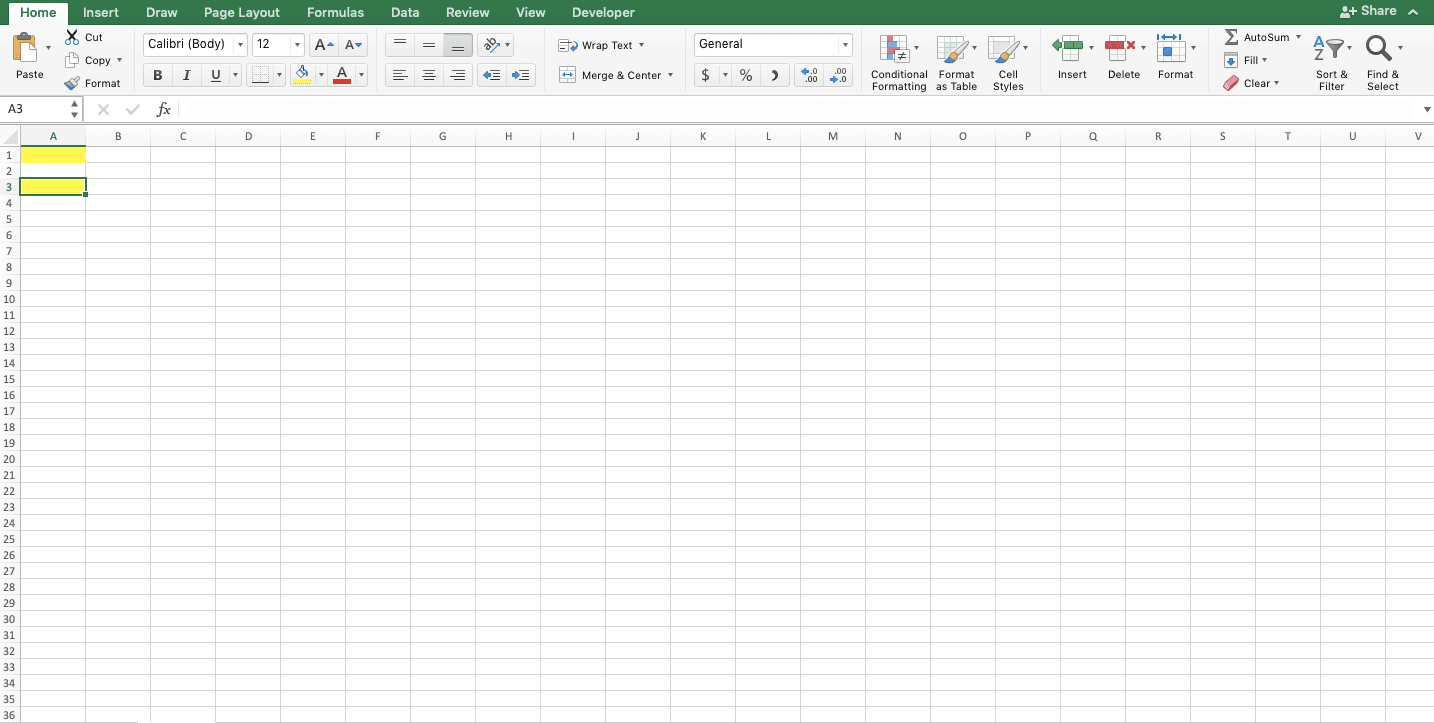
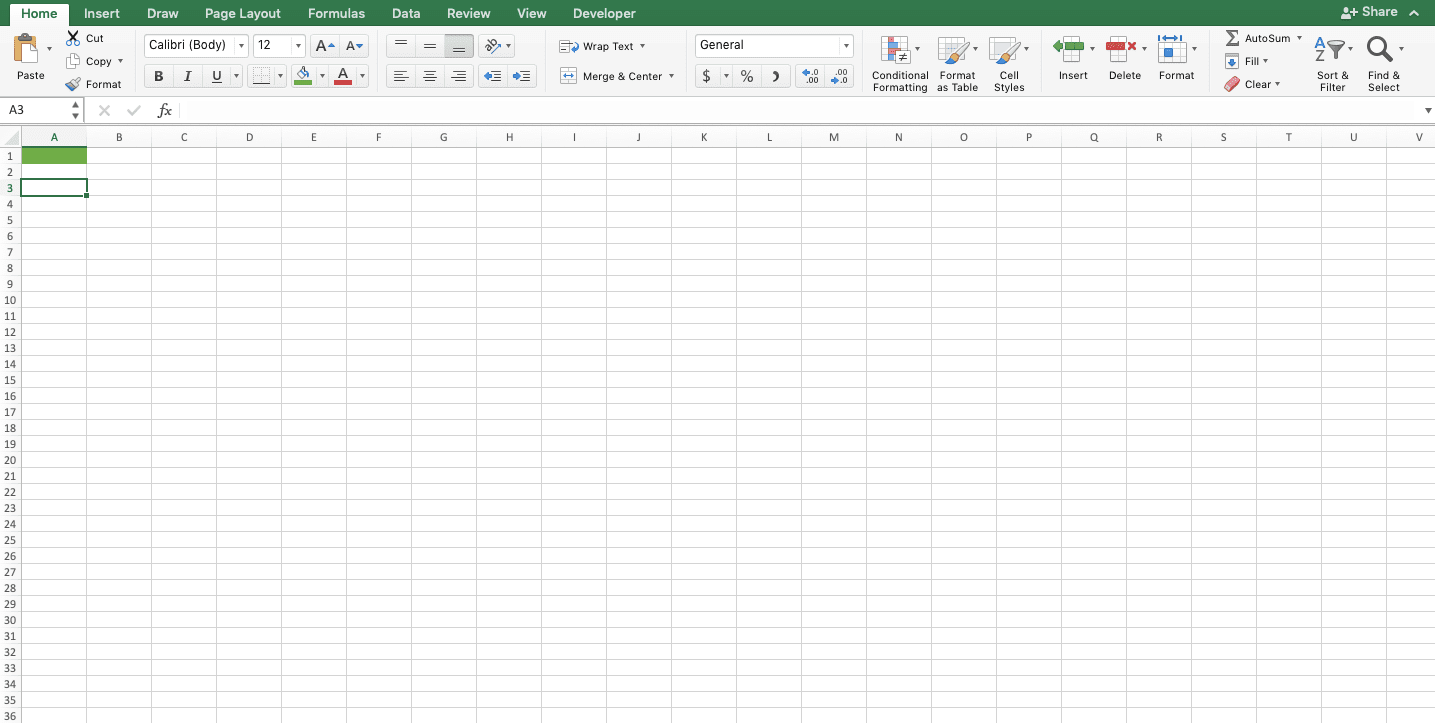
Sheet 2
Use the F4 button to help giving the yellow color in box 1 to box 2 and 3!
Sheet 3
Use the F4 button to look for these numbers:
- 3222
- 2345
- 1573
After finishing all the instructions, close your excel using the F4 button too! Can you do it?
Link to the answer key file:
Download here
Additional Note
The $ signs which symbolize the absolute nature of your cell coordinate references can also be written manually if F4 isn’t used.Related tutorials you should learn: